
This guide walks you through installing Leconfe on your web server. There are three common setups: Nginx, Apache, and subdirectory installation. Choose the one that matches your server. Leconfe requires PHP 8.1 or higher with common PHP extensions (PDO, Mbstring, OpenSSL, GD, Tokenizer, XML, Ctype, JSON, Fileinfo, BCMath, and Zip) enabled on your server.
Installation on Nginx
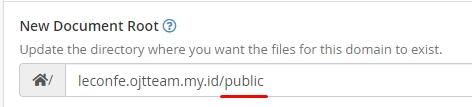
After extracting the files, configure the document root to point to the public folder, as illustrated in the image below.
Installation on Apache
Apache typically sets the root folder to the application folder directly, so you can access the domain immediately for installation.
Open your browser and go to the installation page using your URL. You will see an installation screen like below.
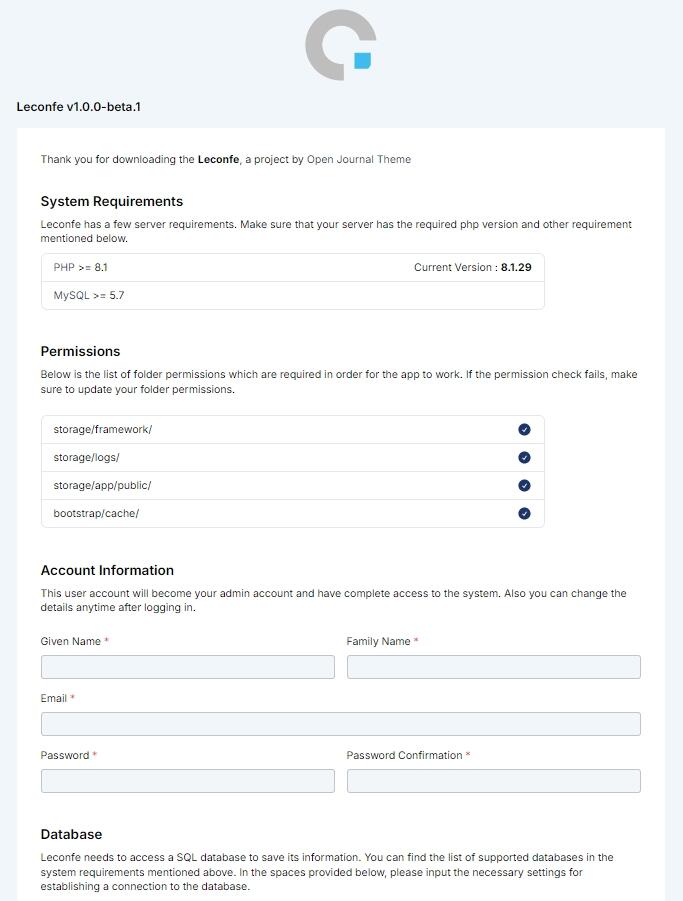
Fill out the form to complete the installation. The process may take a moment. Once it’s done, you should see the success screen shown below.
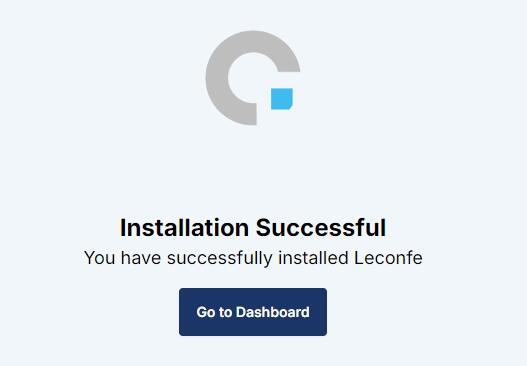
Once the installation is complete, log in with the administrator account you created to access the admin area.
Installing Leconfe in a Subdirectory
Based on reports from these cases:
Some users experienced incorrect URL redirection when installing Leconfe in a subdirectory.
If you install Leconfe in a subfolder (for example, https://exampleserver.org/subfolder/) and it redirects to the wrong URL (https://exampleserver.org/installation), follow these steps:
1. Open File Manager in your cPanel/server.
2. Navigate to: public_html/subfolder/public/index.php
3. Find this line: define('LECONFE_SUBDIR', '');
4. Change it to match your subdirectory name: define('LECONFE_SUBDIR', 'subfolder');
5. Save the file and refresh your installation page.
Leconfe will now install correctly at:https://exampleserver.org/subfolder/installation
After Installation
Once Leconfe is installed, you are ready to start managing your conference. If you are upgrading from an older version of Leconfe, open a terminal in your Leconfe directory and run the following command to apply any database updates:
php artisan leconfe:upgrade
After that, proceed to configure your email settings and set your timezone to complete the basic setup.


