
Applies to: Leconfe 1.5.0-beta.3
A Scheduled Conference is one occurrence of a conference series—for example, the 2026 edition of an annual conference. Its panel is where you manage the event website, submissions, review, presentations, payments, participants, users, announcements, speakers, committees, and timelines.
Important: Leconfe 1.5.0-beta.3 is a pre-release. Labels and layouts may still change before the final 1.5.0 release. The screenshots retained on this page were captured from an earlier interface; captions identify workflows whose layout or labels differ in version 1.5.
Before You Start
- Confirm that you opened the correct conference series and Scheduled Conference.
- Make sure your account has the permissions required for the task. Leconfe hides menus and actions that your role cannot use.
- Prepare the event title, dates, location, contacts, branding, submission rules, review policy, payment information, and privacy statement.
- Create a backup before changing public URLs, installing plugins, deleting records, or making major workflow changes.
- Configure and test the event while it is a draft, then publish it only after completing the checklist at the end of this guide.
Open the Correct Scheduled Conference Panel
- Sign in to Leconfe.
- Open the relevant Conference panel.
- Select the correct Scheduled Conference from the event switcher.
- Check the event title displayed in the panel before editing settings or records.
A Conference-level role can apply across its scheduled events, while a role assigned only to one Scheduled Conference does not automatically grant access to another event.
Understand the Dashboard
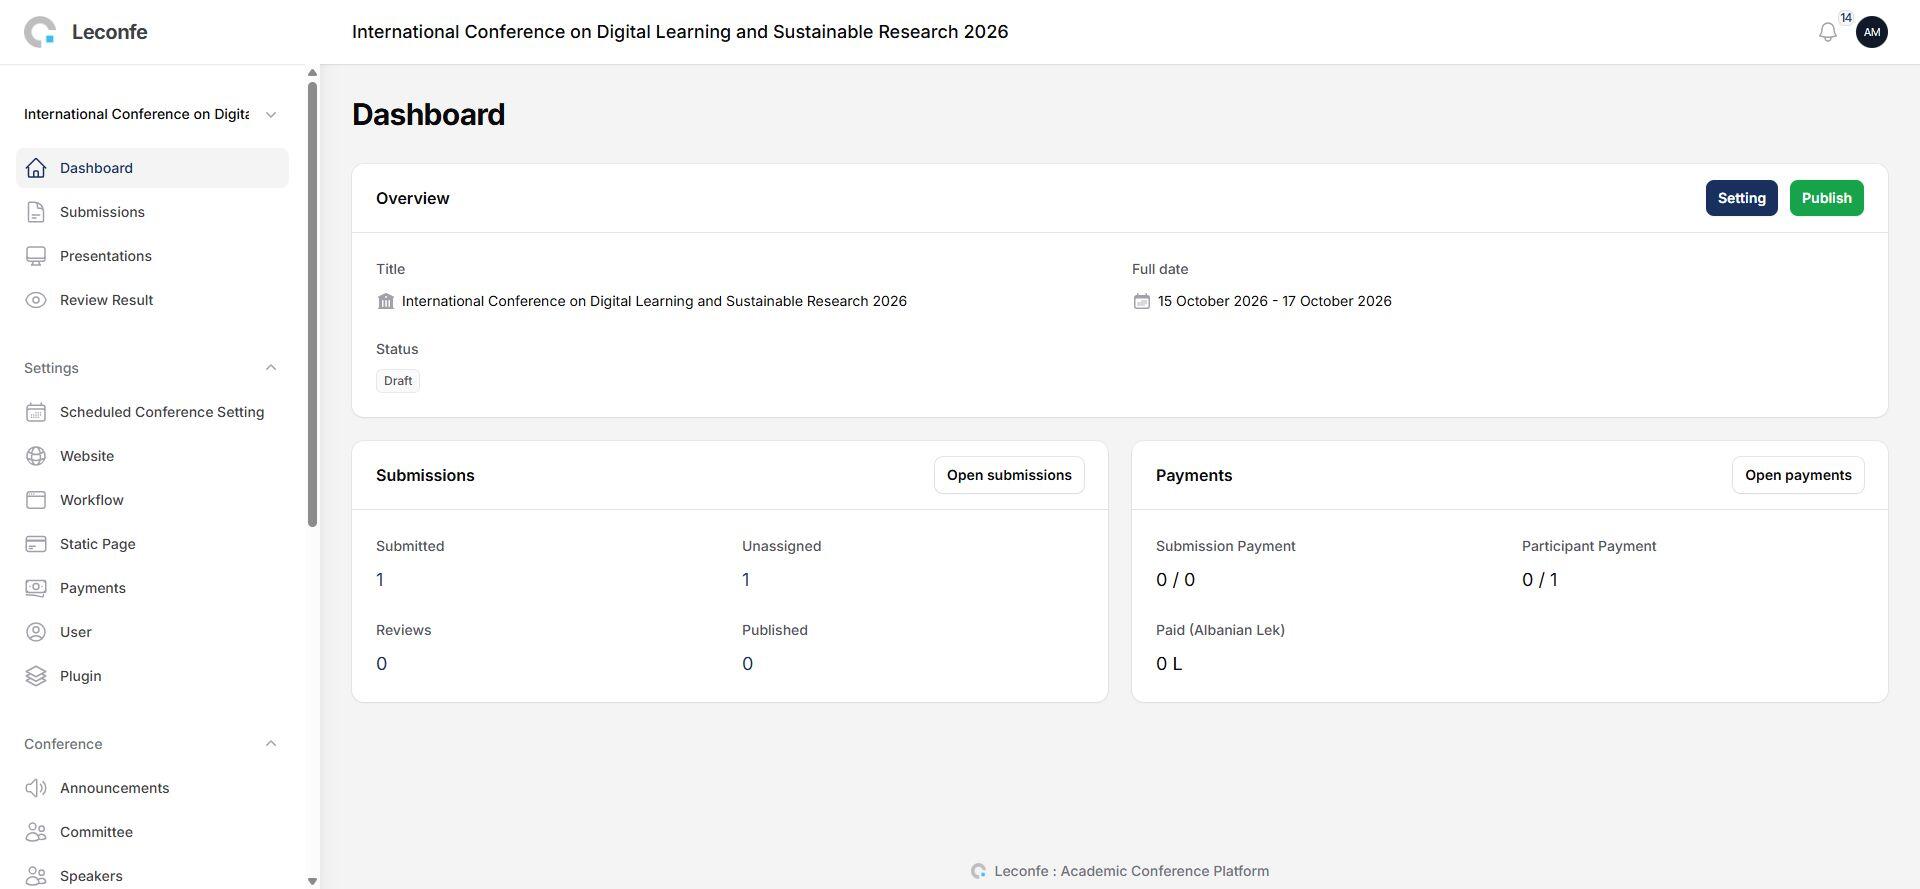
For managers and editors, the Dashboard can show:
- The Scheduled Conference title, dates, publication status, coordinator, and location.
- Actions to open Settings and, when permitted, publish the event or return it to draft.
- Submission totals for submitted, unassigned, under-review, and published records.
- Submission-payment and participant-payment summaries.
- Paid totals grouped by currency.
Role-dependent behavior: Track Editors and Reviewers may be redirected directly to Submissions instead of seeing the Dashboard overview.
Role Shortcuts and Self-Assignment
When a new account has no role in the event, Leconfe can display role cards that allow the user to select an available role:
- Author: available so the user can begin a submission.
- Reviewer: appears only when reviewer self-assignment is enabled in Website > Setup.
- Participant: appears only when participant registration is enabled.
- Select the required role.
- Select Continue.
- Wait for the success message, then open the relevant submission or registration page.
Users who already have a role but cannot manage the Scheduled Conference may see discovery shortcuts instead of the role-selection form.
Manage Submissions
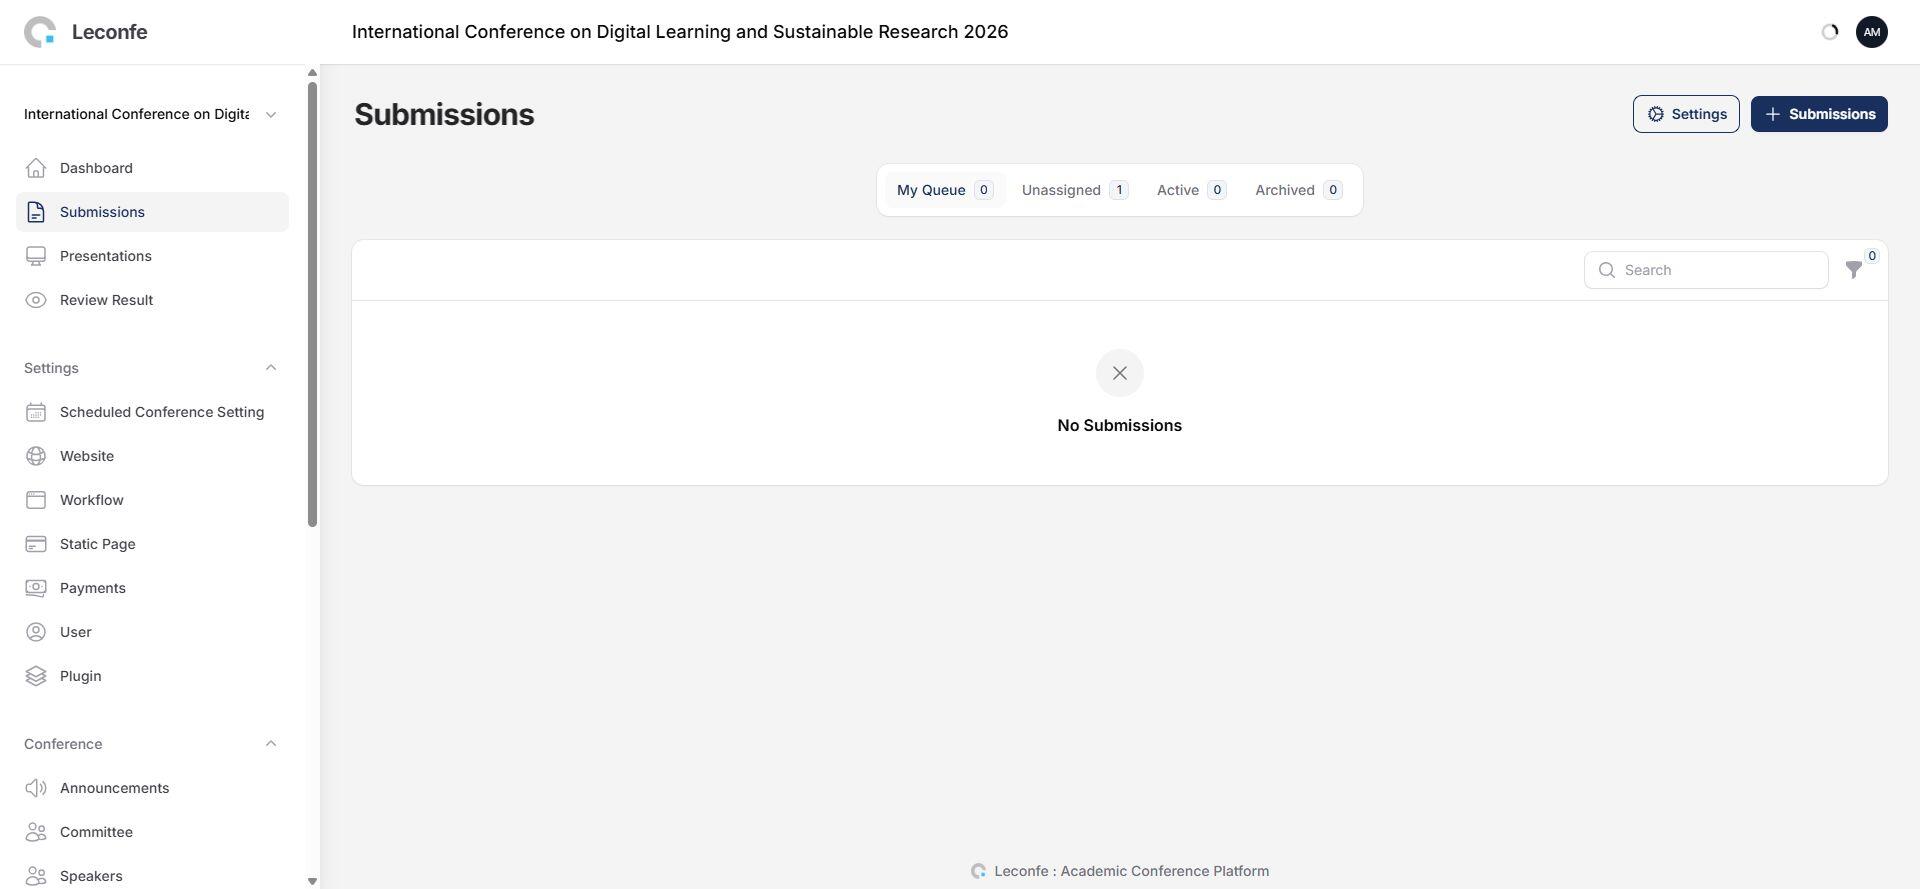
The Submissions page uses these tabs:
- My Queue: submissions where you are a participant or have an active review assignment.
- Unassigned: incomplete editorial records that do not yet have an editor. This tab appears only to users with the required editorial permission.
- Active: assigned submissions in Queued, On Review, On Payment, On Presentation, or Editing status. This tab is also permission-dependent.
- Archived: Published, Withdrawn, Declined, or Payment Declined submissions.
Correction for version 1.5: Presentation is not a tab in the submission list. Presentation settings are under Workflow, while public/final presentations are available through the Presentations page when access is open.


Process a Call for Abstract
Open a submission in the Call for Abstract stage. The current editor actions are:
Send for Review
- Select Send for Review.
- Optionally enter a review-round name.
- Select the files that reviewers should receive.
- If submission payment is enabled and no payment exists, select the appropriate fee and any add-on items.
- Review the notification subject and message.
- Send the submission to review.
Leconfe creates a review round, copies the selected files to the review stage, creates the payment record when required, and records an in-app notification. Email can be disabled using the notification option.
Decline
- Select Decline.
- Review the email subject and message.
- Select Do not send notification to author only when an email should not be sent.
- Confirm the decision.
The submission moves to Declined status and the author receives an in-app notification even when the email channel is disabled.
Skip Review
Use Skip Review only when a submission is allowed to bypass peer review—for example, an invited paper. The submission moves directly to Editing. Review the author notification before confirming.
Configure Scheduled Conference Settings
Masthead
Open Settings > Scheduled Conference Setting > Masthead. Configure:
- Title, start date, and end date.
- Short description and acronym.
- Faculty and categories, when the installation administrator has configured them.
- Coordinator, conference theme, and location.
- Conference summary and editorial team.
- About the Scheduled Conference.
Use the Scheduled Conference title and dates for this event only. Information describing the continuing conference series belongs in the Conference panel.
Contact
- Principal contact: name, email, phone, affiliation, and mailing address.
- Technical-support contact: name, email, and phone.
Use monitored addresses and confirm that the people listed have agreed to receive conference inquiries.
Configure the Scheduled Conference Website
Open Settings > Website. Version 1.5 organizes this page into Appearance and Setup.
Appearance: Theme

Select a theme that has already been enabled on the installation. Theme-specific settings appear after selection. Custom stylesheets must be CSS files. Test custom CSS on desktop and mobile before publication.
Appearance: Setup
- Logo: the event identity displayed on public pages.
- Favicon: the small browser-tab icon.
- Scheduled Conference Thumbnail: the image used to represent the event in lists and cards.
- Page Footer: event-specific footer content.
Appearance: Sidebar
Enable only blocks that contain complete content. Reorder them into a logical sequence and check the public event homepage after saving.
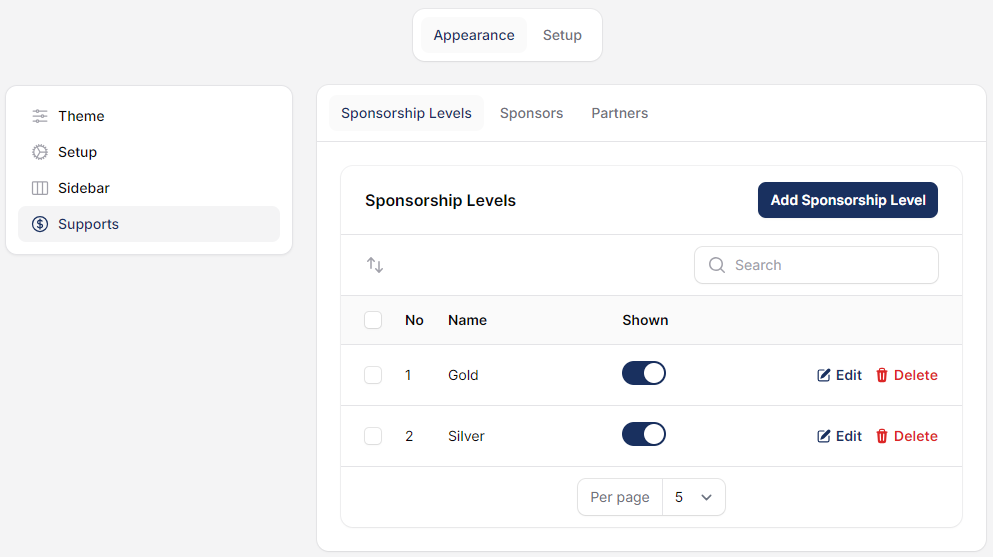
Appearance: Supports
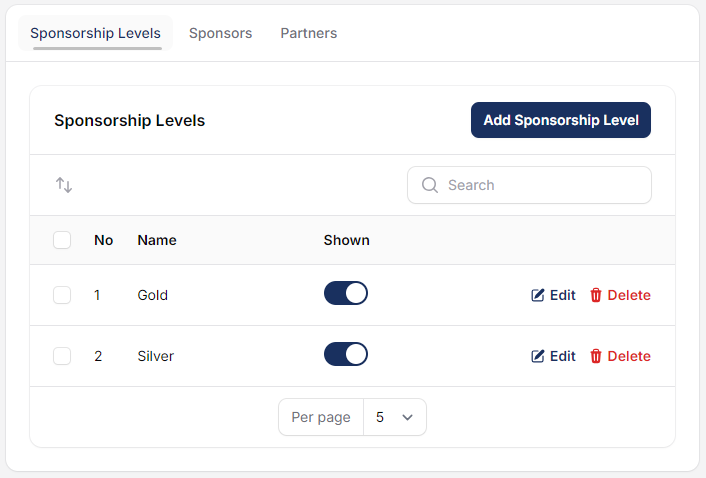
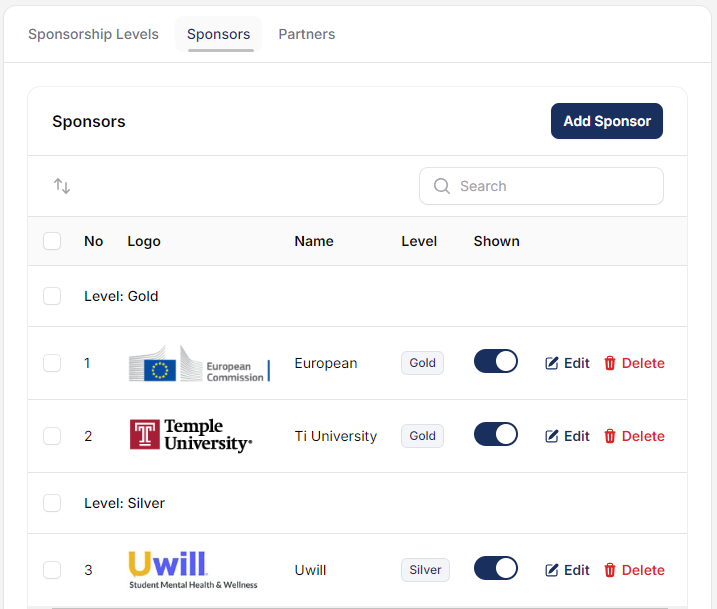
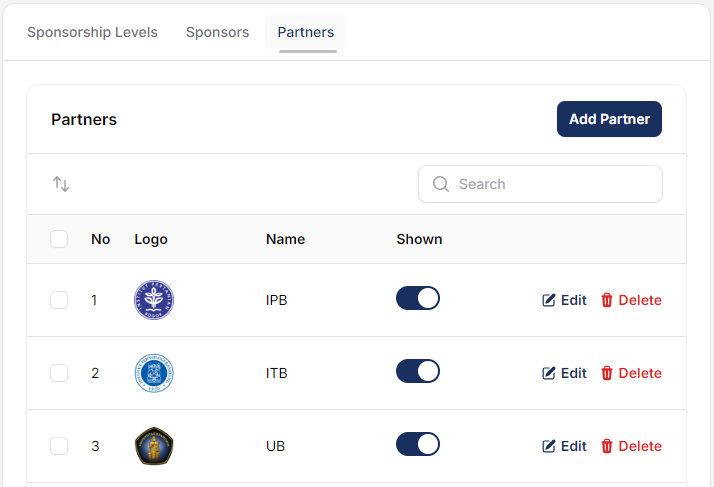
Setup: Navigation Menu


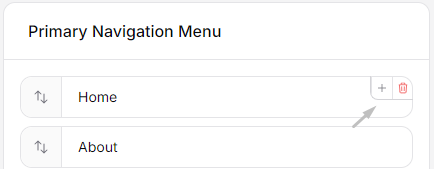
After editing the menu, verify public navigation while signed out and user navigation while signed in. Remove links that point to deleted or draft static pages.
Setup: Privacy Statement
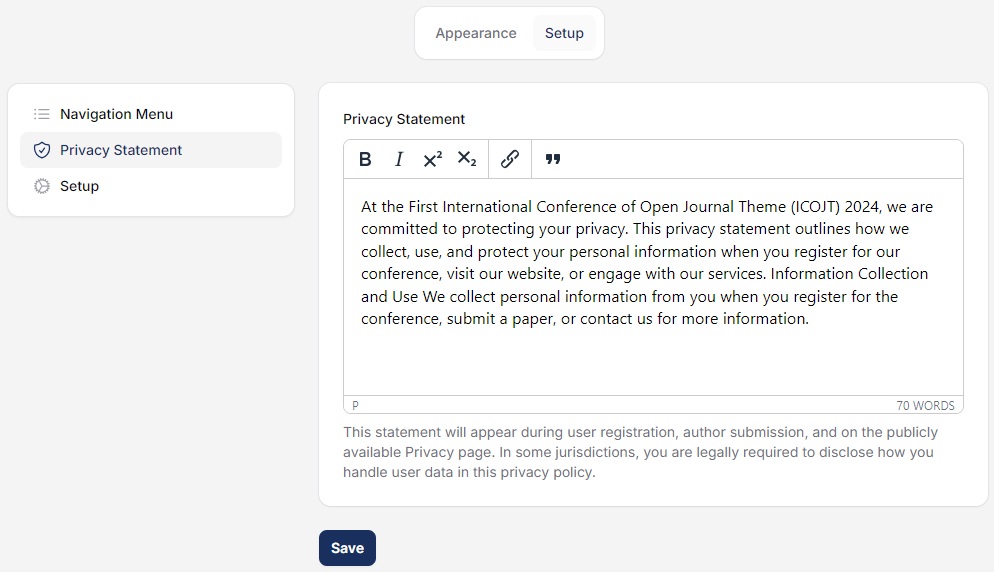
Explain what personal data is collected, why it is required, how it is used, how long it is retained, and how users can contact the organizer about their data. Use wording approved for your jurisdiction and organization.
Setup: Registration and Timezone
- Enable or disable participant registration.
- Allow users to self-assign the Reviewer role when appropriate.
- Select the default registration country.
- Select the event timezone.
- Choose which registration fields are required: given name, family name, public name, affiliation, country, and phone.
Timezone warning: Set the timezone before publishing deadlines and schedules. After changing it, recheck submission, presentation, payment, and event dates.
Configure the Workflow
Open Settings > Workflow. Version 1.5 provides five main areas: Submissions, Review, Presentations, Publisher Library, and Emails.
Submissions
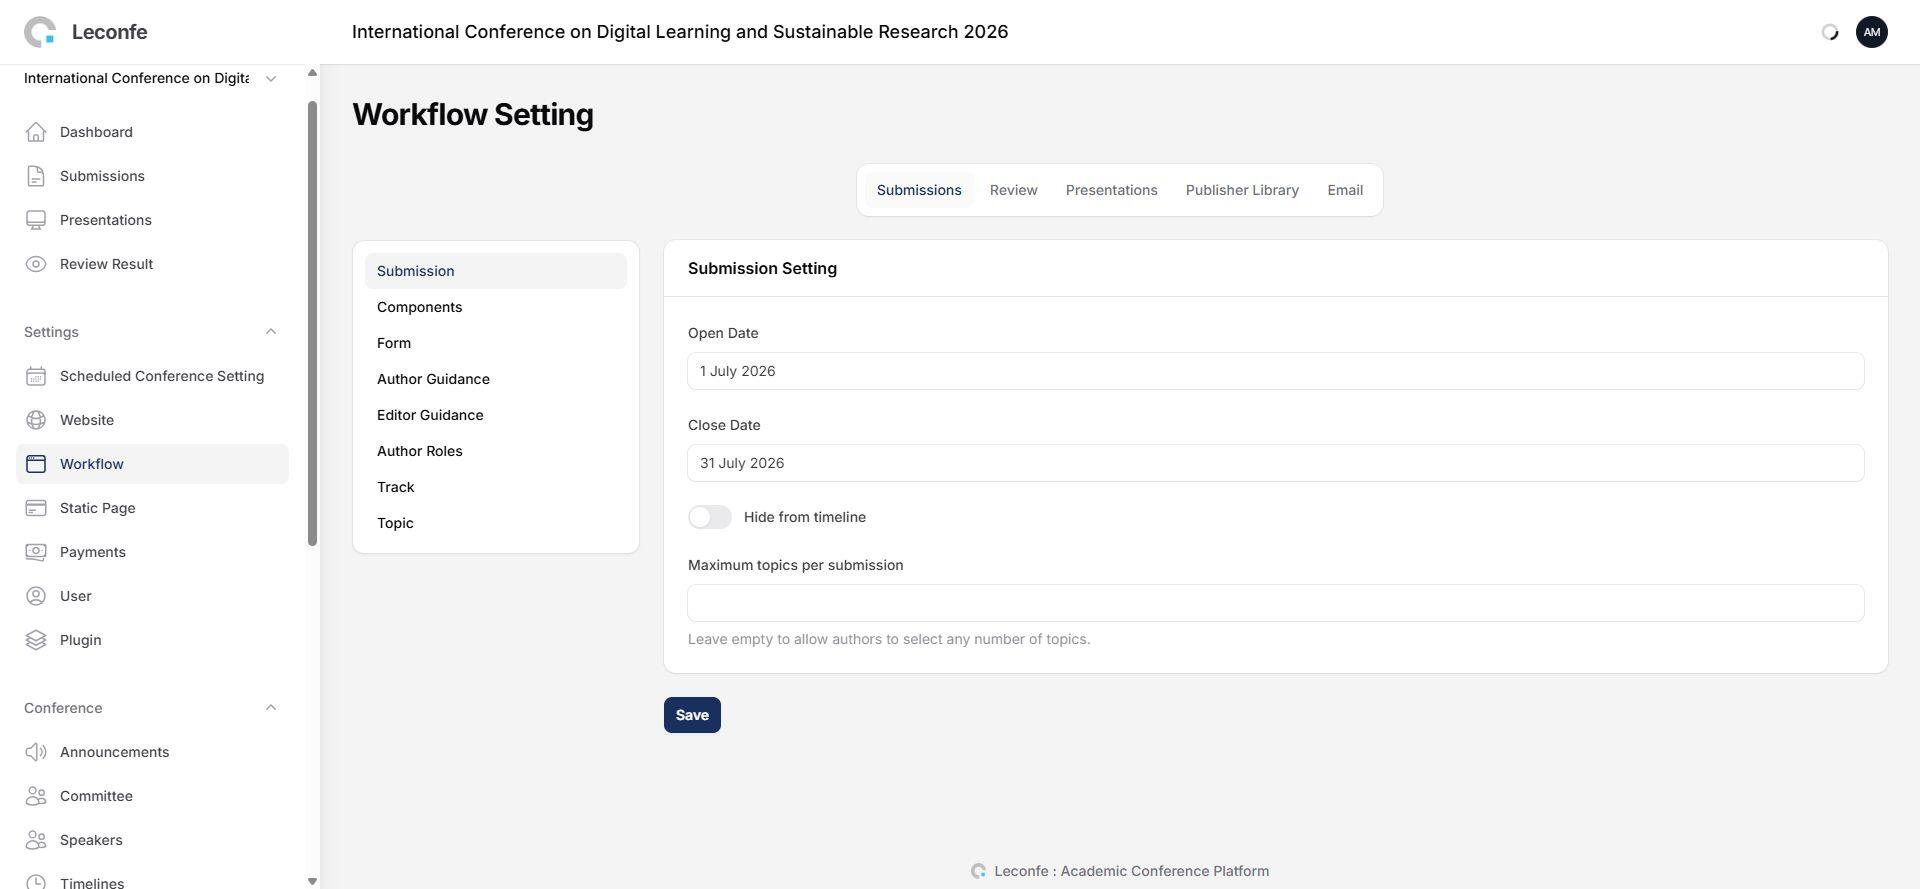
Submission
- Set the submission open and close dates.
- Choose whether those dates should be hidden from the public timeline.
- Set the maximum number of topics an author may select.
Components
Create the required file components before opening submissions. Use clear names such as Abstract, Full Paper, Copyright Form, or Supplementary File, and confirm which components are mandatory.
Form
Use Form to add extra submission questions. Check the field type, help text, required status, and response visibility before accepting live submissions.
Author Guidance
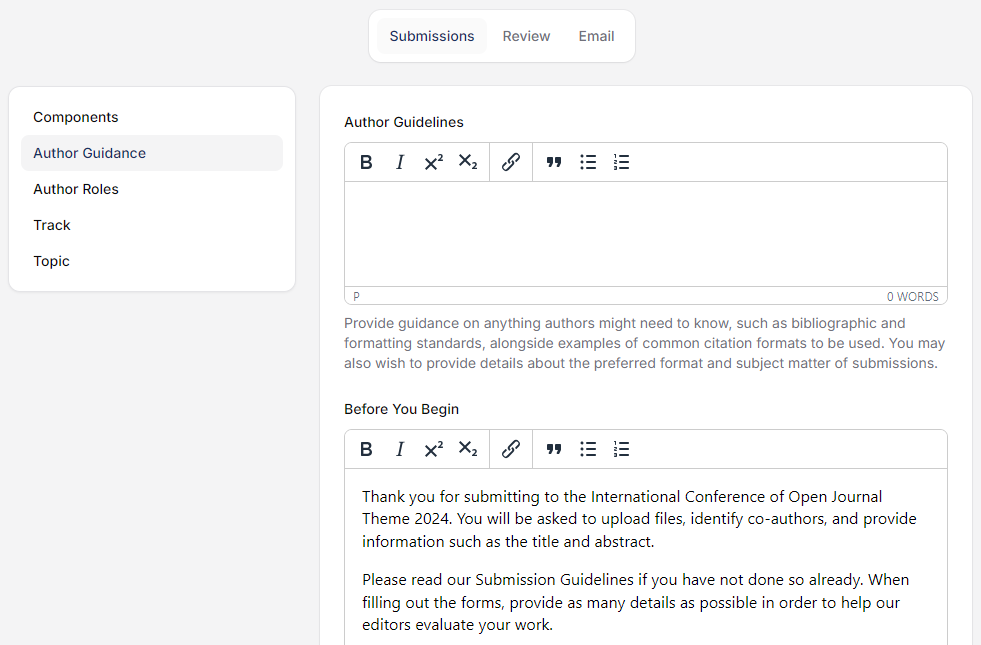
Complete the Author Guidelines, Before You Begin information, and Submission Checklist. Make every requirement testable and remove obsolete template links.
Editor Guidance
Editor Guidance is displayed through the Help interface for editors. Use it for internal decision rules, communication standards, and escalation instructions.
Author Roles
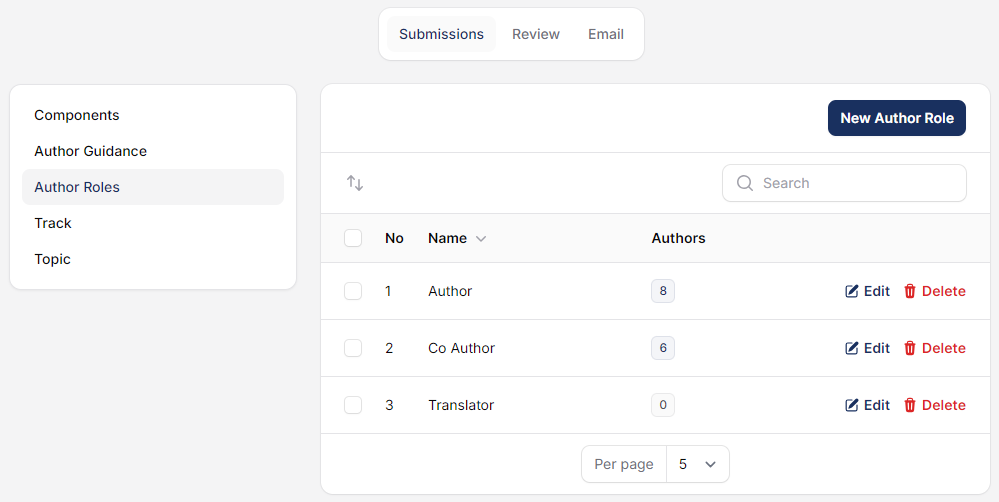
Use stable role names because changing them after submissions exist can make contributor metadata inconsistent.
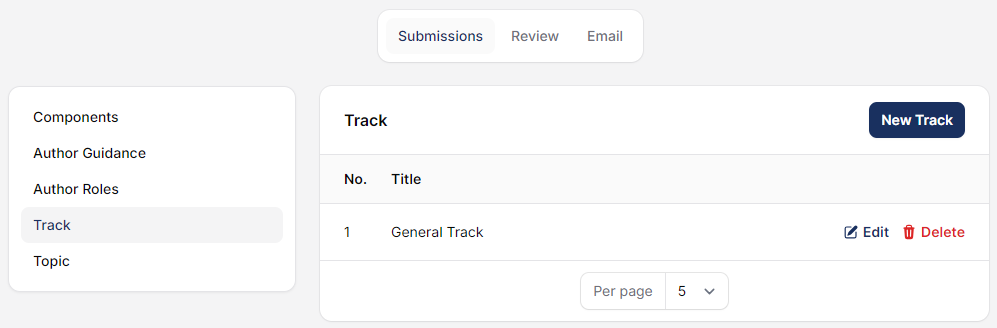
Tracks
Topics
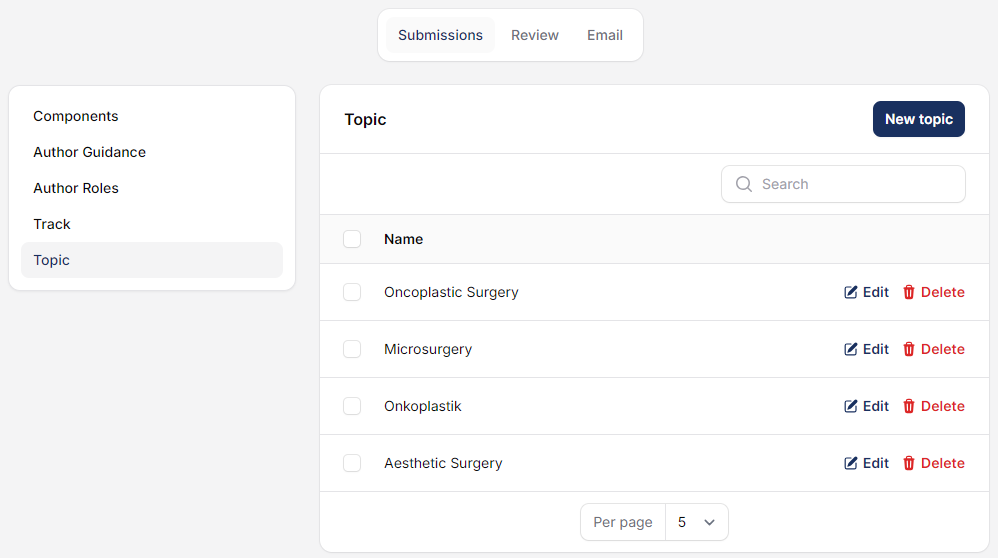
Keep Tracks broad and Topics specific. Avoid duplicate labels and confirm the maximum-topic setting matches the available list.
Review
Setup
- Select the review mode.
- Choose whether reviews are open to authors by default.
- Set the default invitation-response deadline in days.
- Set the default review-completion deadline in days.
Reviewer Guidance
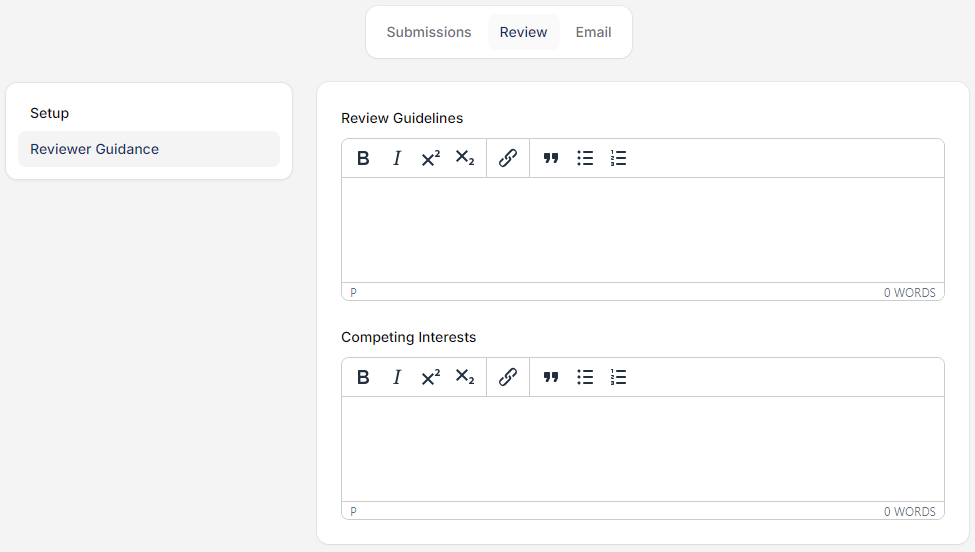
Review Form
Create the questions and scoring fields that reviewers must complete. Test the form with a reviewer account before assigning live submissions.
Presentations
Set the presentation open and close dates. Managers can access the presentation list at any time; other users can access it only while the presentation period is open. Final presentations can be searched by title, track, topic, and keyword.
Publisher Library
Publisher Library belongs to the Scheduled Conference in Leconfe 1.5. Add files, set clear display names, reorder them, and decide whether each file allows public access. Files without public access remain protected.
Emails
Email Templates
Layout Templates
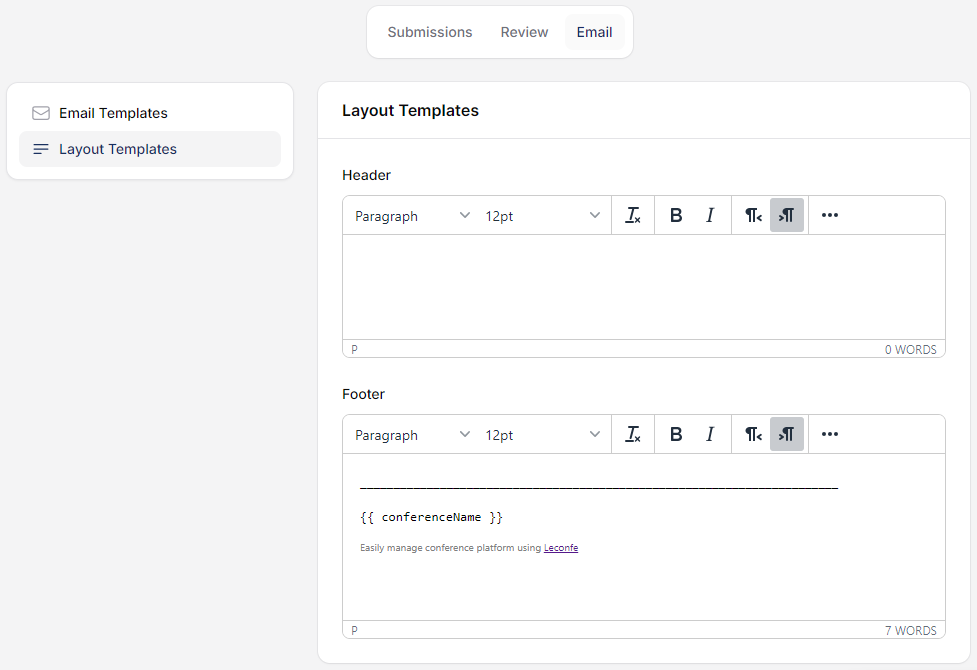
After changing email content or layout, send a test email to your own account. Check merge variables, links, mobile layout, sender identity, and reply address.
Manage Plugins

The Upload Plugin action is visible only to users who can install plugins. Leconfe 1.5.0-beta.3 accepts ZIP packages; the older documentation’s .tar.gz instruction is no longer correct.
Caution: Installing or enabling a plugin may affect the wider Leconfe installation. Use trusted packages, verify version compatibility, create a backup, and retest submission, review, payment, email, and publication workflows.
Manage Static Pages

- Create the page and enter a clear title and path.
- Add and review the content.
- Publish the page when ready.
- Add it to the correct navigation menu.
- Before deleting it, remove navigation items and external links that point to it.
Configure and Monitor Payments

The top-level payment tabs are:
- Submission Payment: monitor and manage payment records attached to submissions.
- Participant Payment: monitor payments created through participant registration.
- Settings: configure General settings, Submission Fees, Participant Fees, forms, invoices, and receipts.
- Payment Method: configure Manual payment and any additional methods registered by plugins.
General Settings
- Enable submission payment and/or participant payment.
- Select Automatic or Manual invoice notification.
- For automatic submission billing, choose when submission payment becomes available.
- Set the payment start and end dates.
Fees, Add-on Items, and Forms
Create separate fee options for submissions and participants. Configure the name, amount, currency, active status, availability, and optional add-on items. Use the Form tab to collect additional payment information such as notes, selections, or proof-of-payment files.
Invoices and Receipts
Invoices and receipts can be enabled independently. Configure sender information, notes, whether to show the submission title, and the prefix, next number, and suffix. Do not reset the next number to a value that can create duplicates.
Manual Payment Method
Enable Manual payment, enter a recognizable method name, and provide complete instructions. Never place private administrator credentials or unrestricted financial-account access in public instructions.
For detailed payment configuration, see Configuring Payment Settings in Leconfe.
Manage Users and Invitations
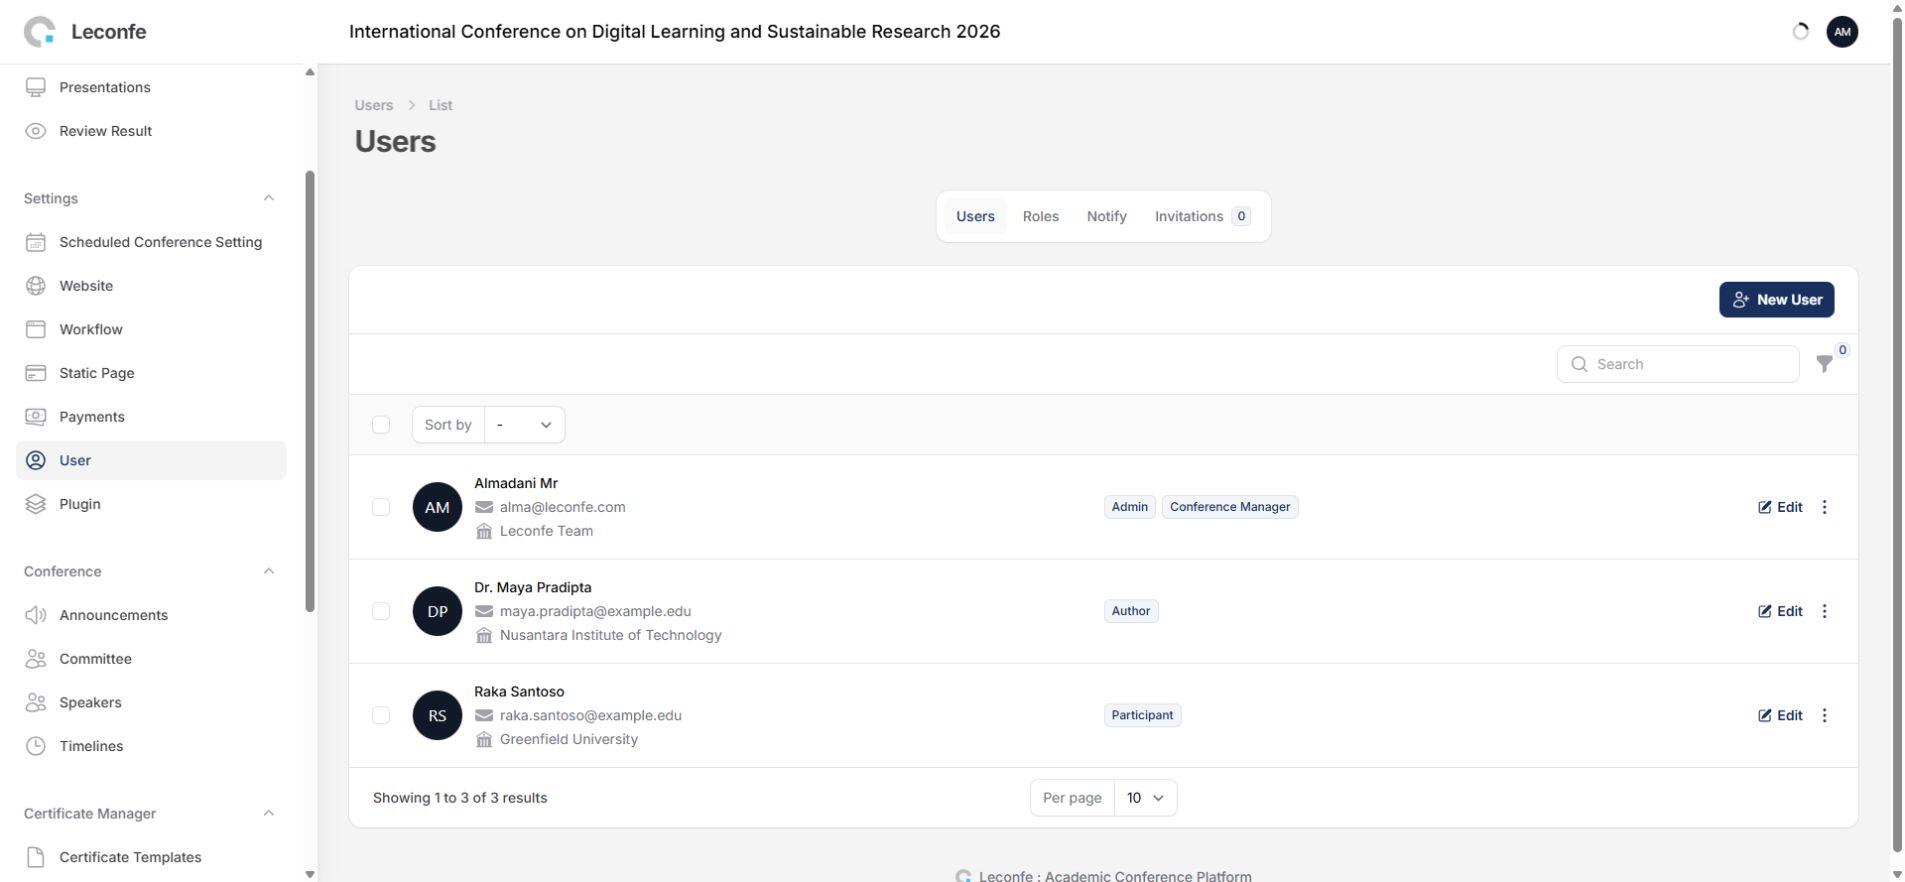
Use Users to add accounts, update profiles, assign roles available in the current Scheduled Conference, send email, enable or disable accounts, or remove contextual roles when permitted.
Invite a User
- Open the invitation action from the user-management area.
- Enter the user’s email address.
- Select a role available in the current Scheduled Conference.
- Send the invitation.
- Track its status and resend only when the earlier invitation has expired or been cancelled.
In Leconfe 1.5.0-beta.3, the invitation email uses the Scheduled Conference title and context. Invitations can be accepted while the event is still a draft, and the default invitation expires after seven days.
Publish Announcements

The email-broadcast option is available when creating an announcement. Review recipients and content before saving because sending an announcement is an external communication. Expired announcements should no longer be treated as current information.
Manage Committees
Committee Members

Committee Positions
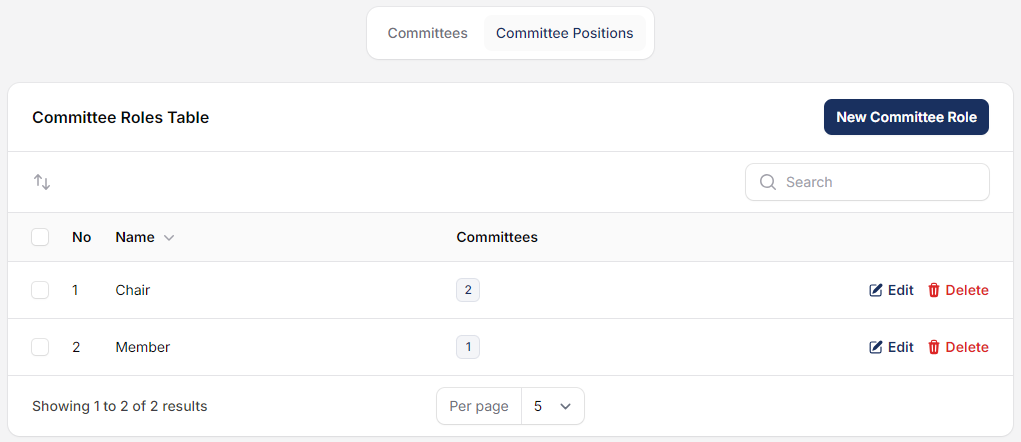
Use consistent position names and verify names, affiliations, profile images, biographies, and links before publication.
Manage Speakers
Speakers

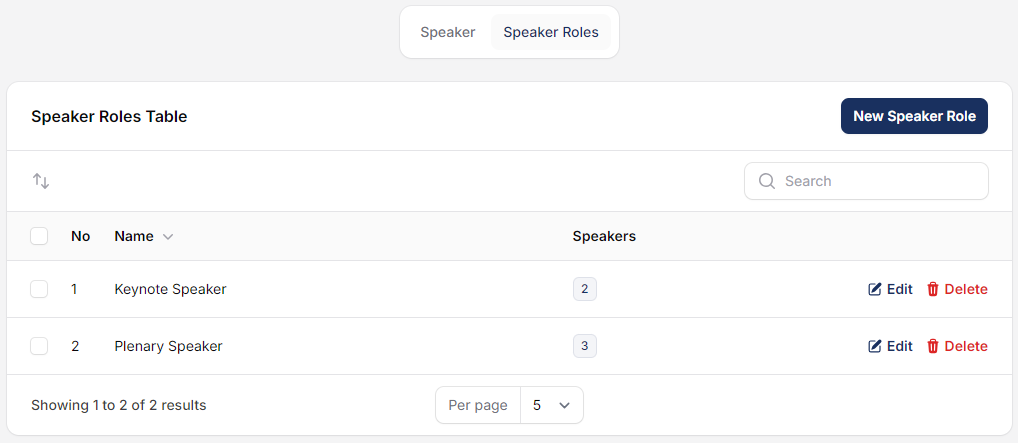
Speaker Roles
Manage Timelines

The current Timeline form contains:
- Name and optional description.
- Start date and optional end date.
- A workflow-integrated Type.
- A visibility control in the timeline table.
Each integrated Type must be unique within the Scheduled Conference. Submission and presentation open/close dates are also managed through Workflow, so review both locations before changing them.
Pre-Publication Checklist
- The event title, dates, location, coordinator, contacts, and timezone are correct.
- The logo, favicon, thumbnail, footer, sidebar, sponsors, and navigation are complete.
- The privacy statement and registration-required fields are approved.
- Submission dates, components, form, author guidance, roles, tracks, and topics are ready.
- Review mode, deadlines, reviewer guidance, and review form have been tested.
- Presentation dates and Publisher Library access are correct.
- Email templates have been tested and contain valid merge variables and links.
- Payment periods, fees, add-ons, forms, invoice numbering, receipt numbering, and payment instructions have been tested.
- Users have only the roles and permissions they need.
- Announcements, committees, speakers, static pages, and timelines are complete.
- A test Author, Reviewer, Participant, and Editor can complete the expected workflows.
- The public website has been checked while signed out and on a mobile-sized screen.
Troubleshooting
A Menu or Action Is Missing
Most Scheduled Conference menus are permission-dependent. Some are also controlled by event state or configuration—for example participant registration, payment, presentation dates, and self-assignable roles. Ask a Conference Manager to verify your role and the relevant feature setting.
A User Opens the Wrong Event
Use the Scheduled Conference switcher and confirm the title shown in the panel header before making changes.
Registration or Payment Is Unavailable
Check whether registration/payment is enabled, whether the current date falls within the configured period, whether an active fee exists, and whether the account has the required Participant or Author role.
A Public Change Does Not Appear
Confirm that the record and Scheduled Conference are published, check navigation and sidebar activation, clear application/site caches when appropriate, and test the public URL in a private browser window.


