The PayPal plugin is an automatic payment feature that enables you to receive payments, set up the payment system, and verify transactions automatically.
1. Initial Requirements
Before using PayPal Payment on Leconfe, please make sure that:
✅ You already have a PayPal Business account
✅ The minimum version of Leconfe used is 1.3.x.
✅ Your conference is active on Leconfe
✅ The payment feature has been created and activated
✅ The PayPal plugin has been installed
Note: For the Cloud version, the PayPal plugin will be available after the official release.
2. Getting API Credentials from PayPal
Log in to PayPal Developer:
https://developer.paypal.com
Go to Dashboard → My Apps & Credentials, select:
- Live (for production)
- Sandbox (for testing)
Click Create App
Take note of the following information:
- Client ID
- Secret Key
This data will be used in Leconfe.
For more technical details about PayPal REST APIs, please refer to the official documentation:
https://developer.paypal.com/api/rest/
3. Enabling the Plugin in Leconfe
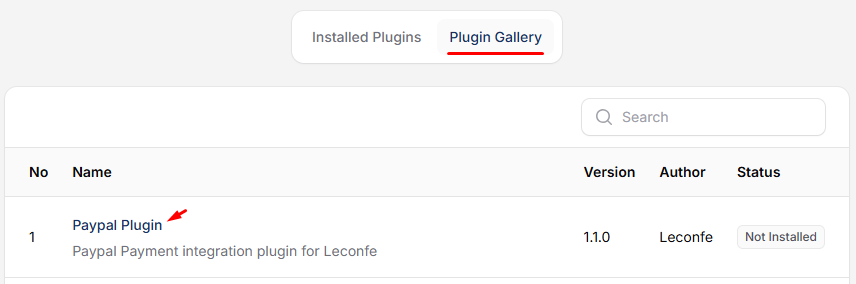
Log in to your scheduled conference and go to Plugins → Plugin Gallery.
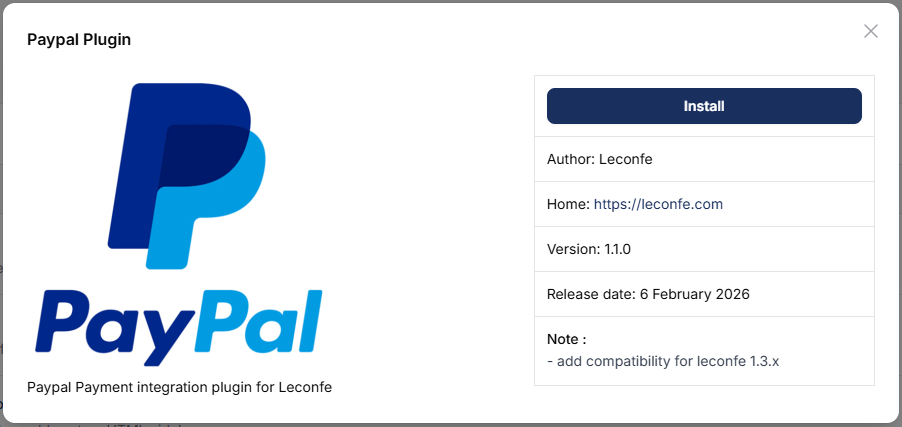
Then, search for PayPal Payment Plugin and install it.
After the plugin has been successfully installed, activate it in the Installed Plugins tab.

4. Configuring PayPal as an Automatic Payment Method
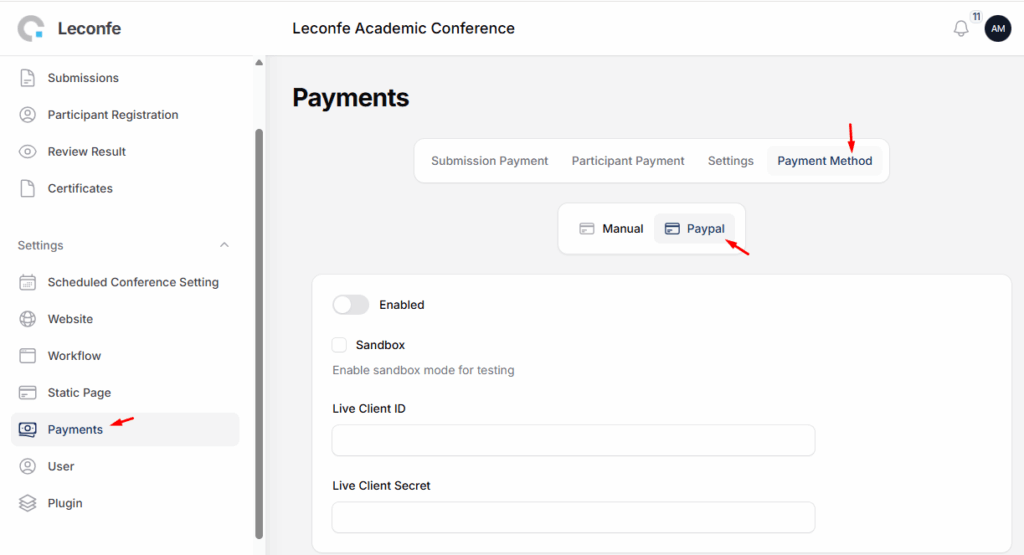
Go to the Payment menu and open the Payment Method → PayPal tab. Enable the PayPal payment method and enter the Client ID and Secret ID that you obtained in the previous steps.
On this page, you can enable Sandbox Mode if you want to simulate the payment process from this plugin.
After completing the setup, conduct a test by registering as a participant or presenter to verify that the payment process is functioning correctly.
Tip:
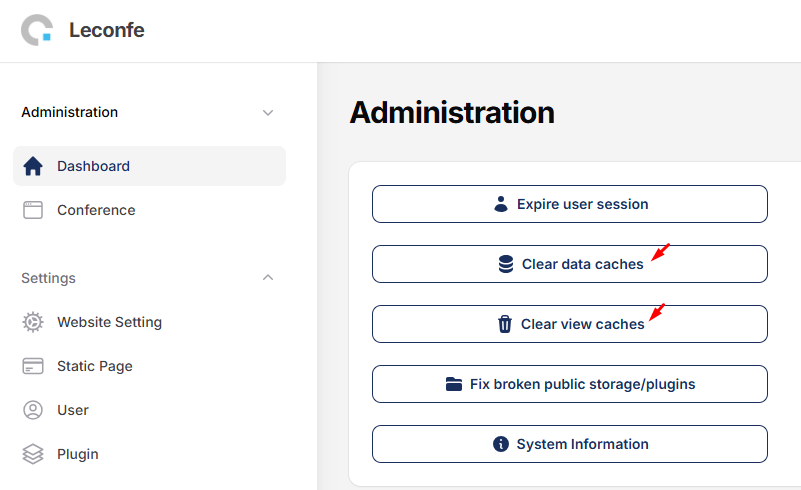
If the PayPal payment plugin does not appear in the plugin gallery list, please clear the data cache and view cache from the administrator panel.