
Applies to: Leconfe 1.5.0
Participant Registration confirms that you will attend a specific conference. It is separate from creating a Leconfe account and separate from submitting a paper.
- Account registration creates your Leconfe user account.
- Participant registration confirms your attendance at a scheduled conference.
- Paper submission sends an abstract or paper for review.
- Presenter registration confirms that an author or speaker will attend and present.
You may need more than one of these steps depending on your role in the conference.
Before You Start
Make sure that:
- You have created a Leconfe account.
- You can sign in to the conference website.
- You are opening the correct scheduled conference.
- Participant registration is currently available.
- You know which registration fee applies to you.
The available fees, payment methods, registration period, add-on items, and required information are determined by the conference organizer.
Step 1: Sign In
Open the conference website and select Login.
Enter the email address and password associated with your Leconfe account. If you do not have an account, create one first and then return to the conference.
Your account email address will also be used for participant registration and payment notifications.
Step 2: Select the Participant Role
When a new account enters the conference Dashboard without a role, Leconfe displays a role-selection section.
- Select Participant.
- Select Continue.
- Wait for confirmation that the role was assigned successfully.
The Participant role is intended for users who want to attend the conference without submitting a paper.
If you already have another role and cannot select Participant, contact the conference organizer. An organizer may need to assign the additional role to your account.
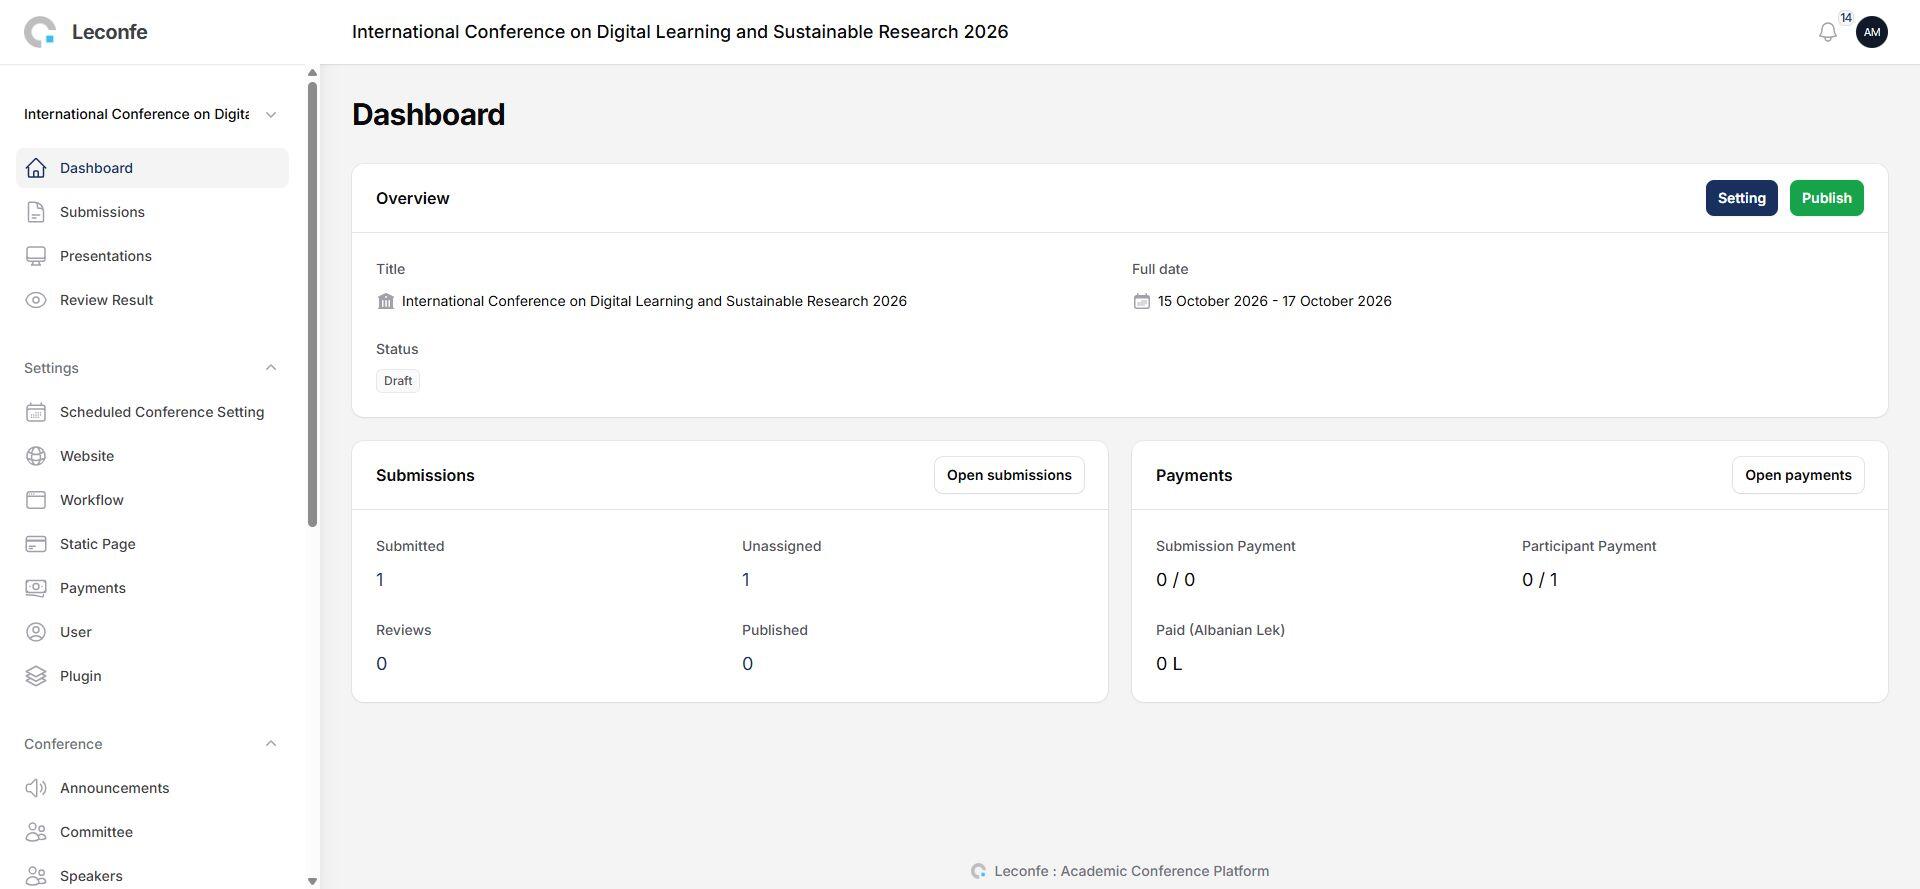
Step 3: Open Participant Registration
From the Dashboard, select the registration card or open Participant Registration from the conference menu.
The registration page is only available when:
- Participant registration has been enabled.
- Your account has the Participant role.
- You have not already registered for this scheduled conference.
If the page displays Registration Closed, registration is currently unavailable. Read the organizer’s message and contact the conference organizer if you believe registration should still be open.
Step 4: Review Your Personal Information
Complete the personal-information section.
The standard fields include:
- Given Name — required.
- Family Name — complete this field if applicable.
- Email — taken from your account and cannot be changed from this form.
- Affiliation — your university, institution, organization, or company.
- Address Line.
- Postcode / ZIP Code.
- City.
- Country.
Some information may already be populated from your account.
If the displayed email address is incorrect, update your account information or contact the organizer before continuing.
Fields marked as required must be completed before the registration can be saved.
Step 5: Complete Additional Questions
The organizer may add conference-specific questions to the registration form, such as:
- Institutional or tax information.
- Dietary or accessibility requirements.
- Participant category.
- Supporting-document upload.
- Other information required by the conference.
Complete every field marked as required.
Uploaded documents should follow any file format and size instructions displayed on the form.
Step 6: Select a Payment Fee
Select the Payment Fee that applies to you.
Available options may include:
- Regular Participant.
- Student Participant.
- Early-Bird Participant.
- International Participant.
- Complimentary or Free Registration.
The price is displayed beside each option.
Important: Even when registration is free, you may still need to select the fee option with a zero amount before saving the form.
If no fee options are displayed, do not select an unrelated option or attempt to continue. The conference organizer may not have finished configuring participant fees. Contact the organizer for assistance.
Step 7: Select Add-on Items
Add-on items appear only when they are available for the selected payment fee.
Examples include:
- Workshops.
- Conference dinner or meal packages.
- Printed proceedings.
- Merchandise.
- Additional certificates.
Use the quantity control to choose how many units you need. Leave the quantity at zero if you do not want an optional item.
Changing the payment fee may also change the available add-ons. Review your add-on selection again after changing fees.
Step 8: Review and Save
Before completing the registration, verify:
- Your name and affiliation.
- Your account email address.
- The selected payment fee.
- The quantity of every add-on item.
- The additional information you provided.
Select Save.
Do not close or refresh the page while the registration is being processed.
When the registration is saved successfully, Leconfe displays a confirmation notification and redirects you to the Participant Payment page.
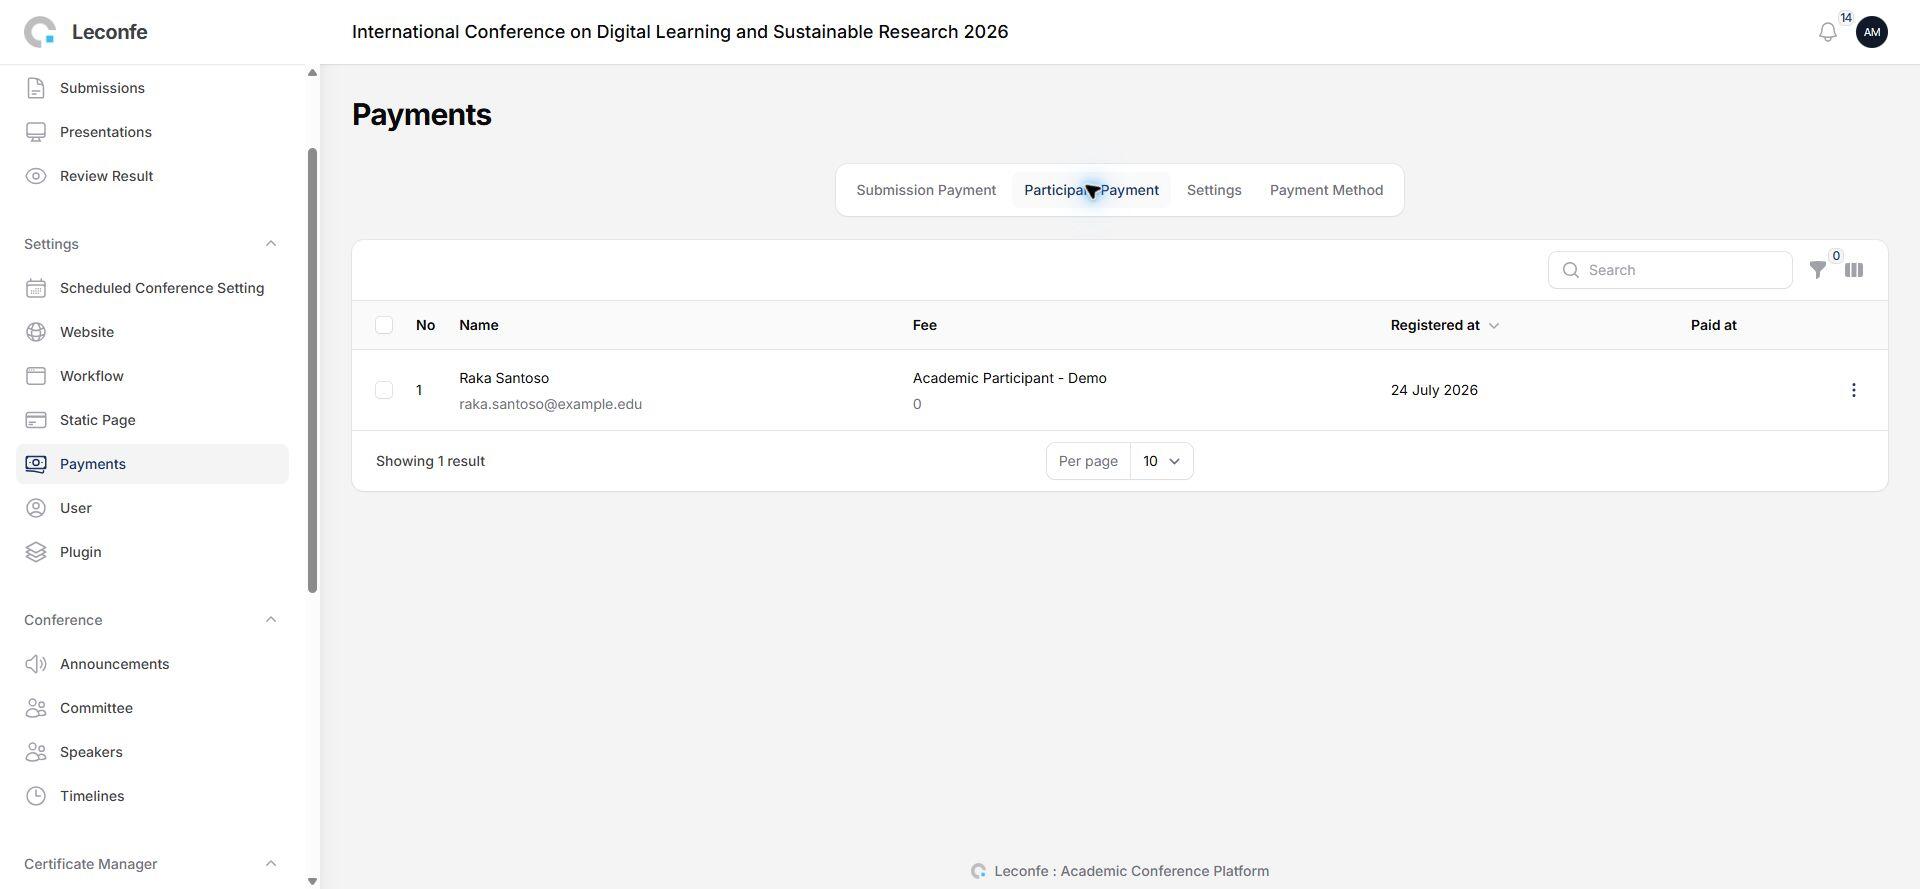
Participant Payment Page
The Participant Payment page is your participant-registration record. Depending on the conference configuration, it may display:
- Participant name and email.
- Selected payment fee.
- Base fee.
- Selected add-ons and quantities.
- Total amount.
- Registration date.
- Payment availability.
- Payment method.
- Payment status.
- Invoice.
- Receipt.
You can return to this page later by signing in and selecting Participant Payment from the conference menu.
What Happens Next?
Free Registration
If the total fee is zero, no financial transaction is normally required. Your participant-registration record will still be available from the Dashboard.
Paid Registration
If payment is required, follow the payment option displayed on the Participant Payment page.
Available methods depend on the conference organizer and installed payment plugins. A conference may use an online payment gateway, bank transfer, or another manual method.
Payment Is Not Open Yet
The page may indicate when the payment period will open. Return during the stated payment period.
Payment Period Has Ended
You cannot initiate payment through Leconfe after the closing date. Contact the organizer for assistance.
Invoice
An invoice is available only when the organizer has enabled invoice generation.
Depending on the conference configuration:
- The invoice may be created and emailed automatically.
- The organizer may create or send it manually.
- No invoice may be provided through Leconfe.
Do not assume that registration failed only because an invoice email has not arrived. Check the Participant Payment page first.
Receipt
A receipt is normally available only after:
- The payment has been confirmed as paid.
- Receipt generation has been enabled by the organizer.
Return to Participant Payment to download the receipt when it becomes available.
Registration and Payment Status
Saving the participant registration does not always mean that payment is complete.
Check the Participant Payment page to confirm:
- The total amount.
- Whether payment is still unpaid or pending.
- Whether a payment method is available.
- Whether the organizer has confirmed payment.
- Whether an invoice or receipt can be downloaded.
For manual payments, confirmation may require organizer verification and may not appear immediately.
Troubleshooting
I Cannot Find Participant Registration
Check that:
- You are signed in.
- You opened the correct scheduled conference.
- Your account has the Participant role.
- Participant registration is enabled.
- You have not already registered.
If you have already registered, open Participant Payment instead.
Participant Is Not Available in Role Selection
The conference may not currently allow participant registration, or your account may already have another assigned role. Contact the organizer for assistance.
The Page Says Registration Closed
Registration is unavailable under the conference’s current rules. Read the displayed message and contact the organizer if you need clarification.
No Payment Fee Is Displayed
The organizer may not have activated a participant fee. Contact the organizer because a fee option must be selected before the form can be saved.
My Email Address Is Incorrect
The email address comes from your Leconfe account and cannot be edited in the participant-registration form. Update your account information or contact the organizer.
I Did Not Receive an Email
First check:
- The Participant Payment page.
- Your spam or junk folder.
- That your account email address is correct.
Email delivery and automatic invoice notifications depend on the conference configuration. The absence of an email does not necessarily mean that registration failed.
I Selected the Wrong Fee or Add-on
Open Participant Payment and check whether an edit action is available. If editing is unavailable or payment has already been completed, contact the organizer before making another payment.
I Closed the Page After Selecting Save
Sign in again and check for Participant Payment in the conference menu. If it appears, your registration was saved.
Do not create another account or attempt a duplicate registration.


