
This guide explains the workflow for a paper at Leconfe, from the submission stage by the author until the paper is ready to be presented and published in the proceedings.
Workflow Overview
A normal submission can move through these stages:
- Author creates and submits the paper.
- The submission is queued for editorial checking.
- An editor is assigned if no editor is assigned yet.
- The editor either sends the paper to peer review or skips review.
- If peer review is used, reviewers are assigned and complete their reviews.
- The editor reads the review result and sends a decision to the author.
- The paper moves to presentation.
- The paper moves to editing.
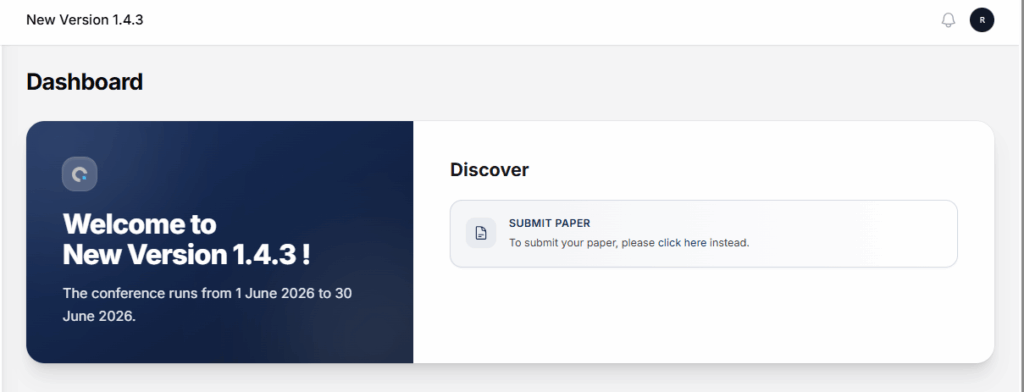
1. Author Submits a Paper
The author starts from the submission form. In Leconfe, the submission wizard has four main steps: Details, Upload Files, Contributors, and Review.
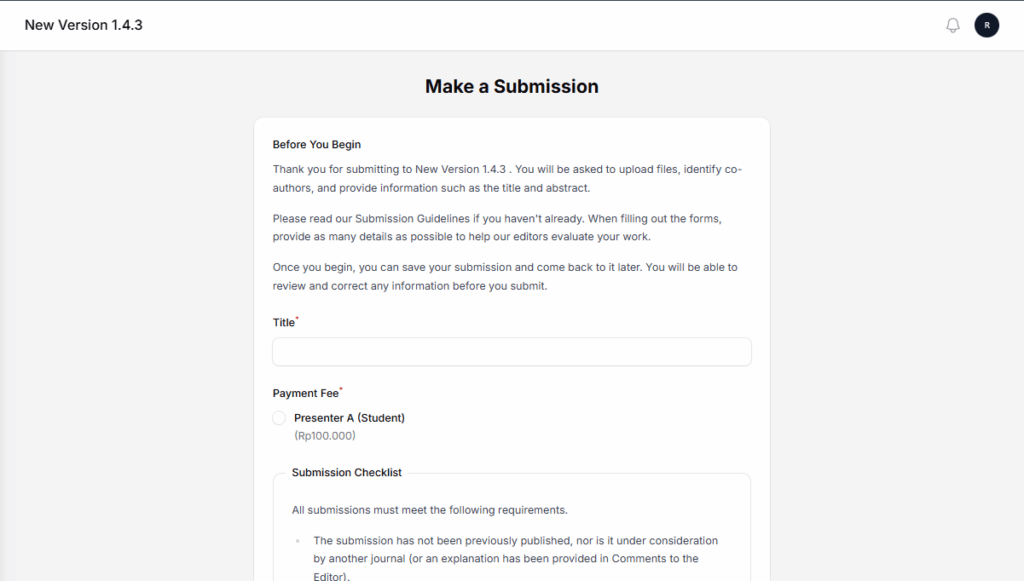
Fill in the submission details
In the Details step, the author fills in the paper metadata. This usually includes the title, keywords, abstract, and topic if topics are available.

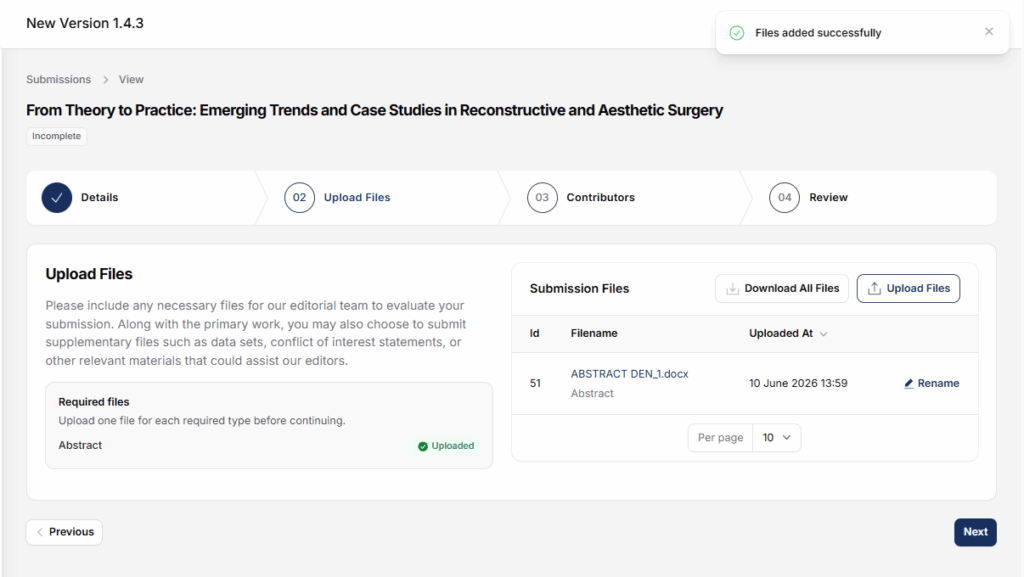
Upload the required files
In the Upload Files step, the author uploads the paper file. If the conference requires specific file types, Leconfe checks that the required files are uploaded before the author can continue.
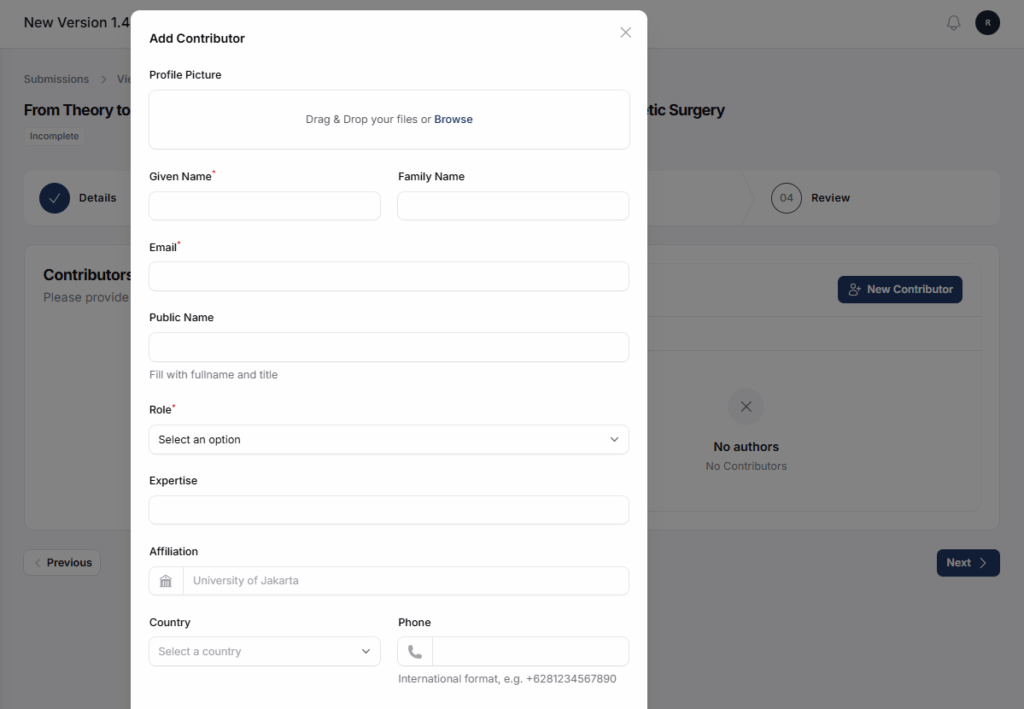
Add contributors
In the Contributors step, the author adds the paper authors. At least one author must be added before the submission can continue.
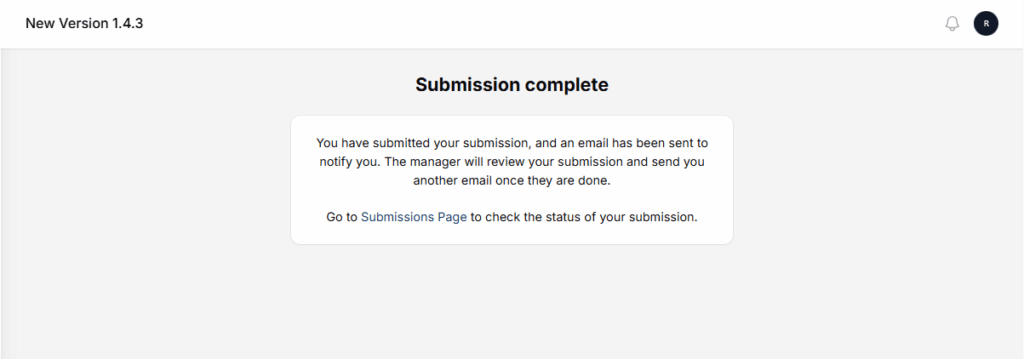
Review and submit
In the Review step, the author checks the information and submits the paper. After submission, Leconfe marks it as Queued. The author receives a confirmation email, and the editorial team can start processing it.
2. Editor Checks the Submission Queue
Editors and managers can open Submissions to see papers that need action. Leconfe separates submissions into queues such as My Queue, Unassigned, Active, and Archived.
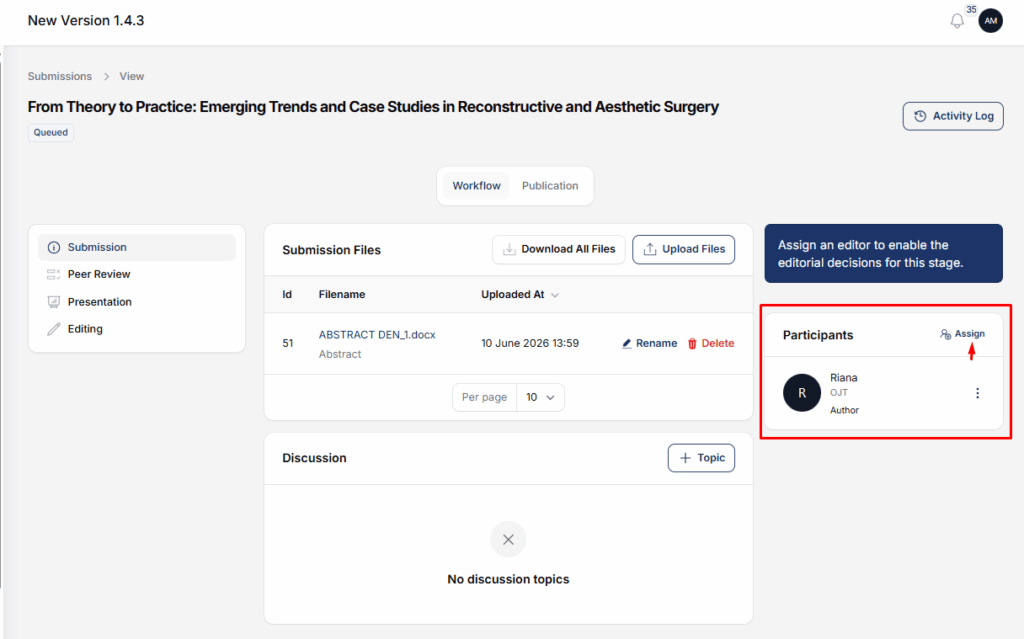
If a submission shows No Editor Assigned, assign an editor before continuing the process.

3. Assign an Editor
Open the submission, then use the Participants area to assign a person with an editor role, such as Scheduled Conference Editor or Track Editor.
- Open the submission from the list.
- Go to the participants area.
- Choose Assign.
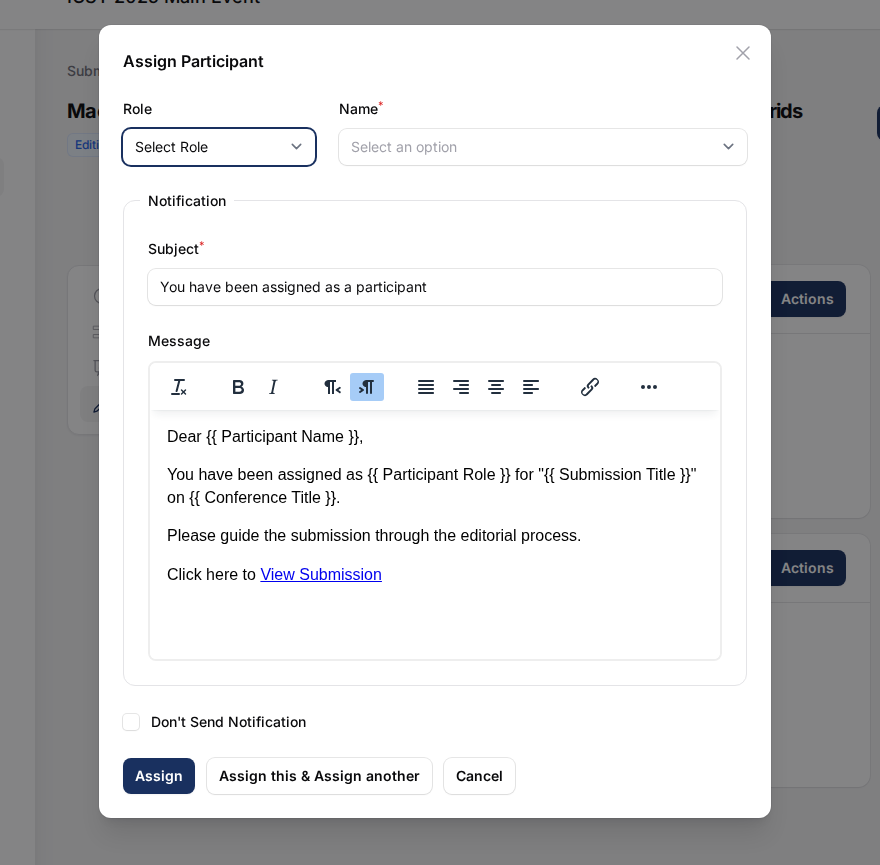
- Select the editor role.
- Select the user.
- Review the notification message, or choose not to send a notification.
- Save the assignment.
4. Choose Review or Skip Review
After the submission is queued, the editor decides whether the paper should go through peer review.
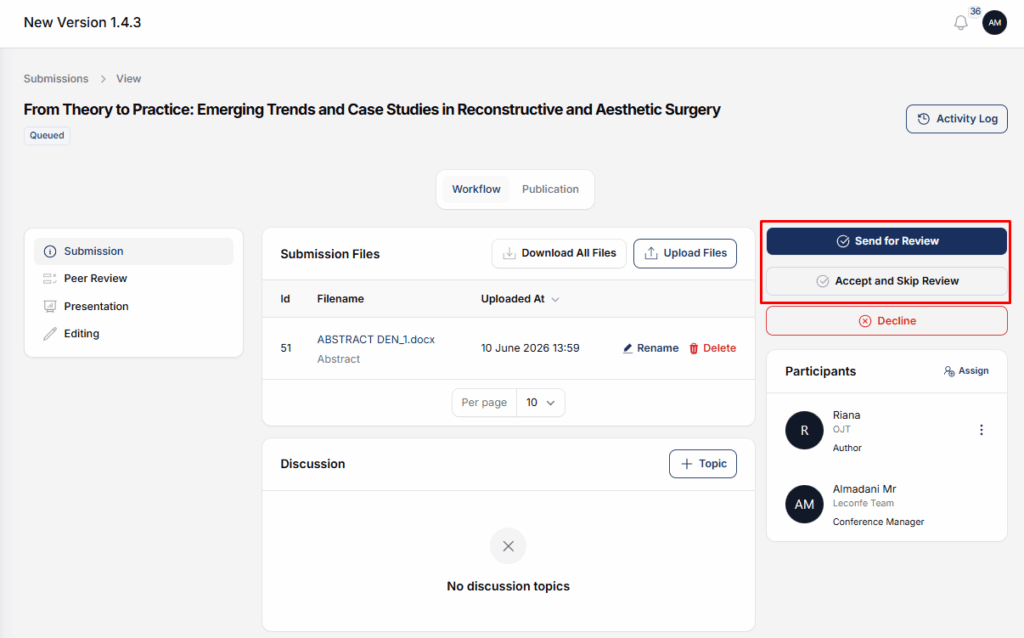
Option A: Send the paper for review
Choose Send for Review when the paper needs reviewer comments before the final editorial decision. If needed, select the files that should be sent to the review stage and review the author notification.
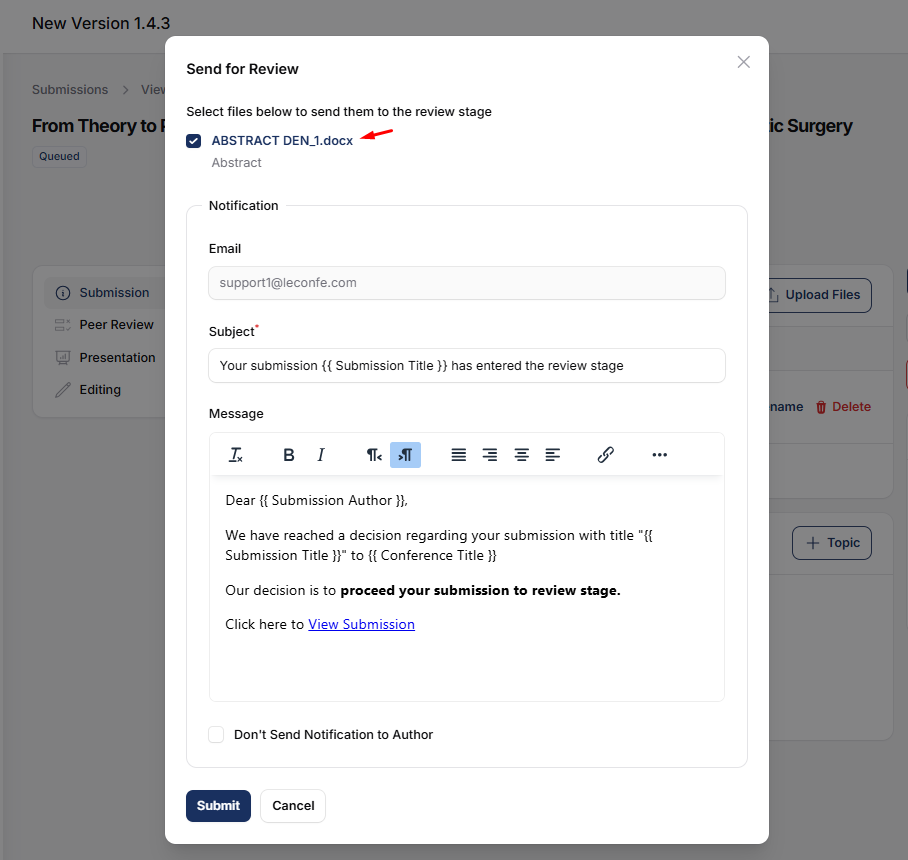
After this action, the submission moves to Peer Review and the status becomes On Review.
Option B: Skip review
Choose Skip Review when the paper does not need reviewer processing. Review the notification message before confirming.
After this action, the submission moves directly to Presentation and the status becomes On Presentation.
5. Assign Reviewers
Before assigning a reviewer, you might want to consider using the review form feature to help the reviewer focus their evaluation on the paper they are reviewing.
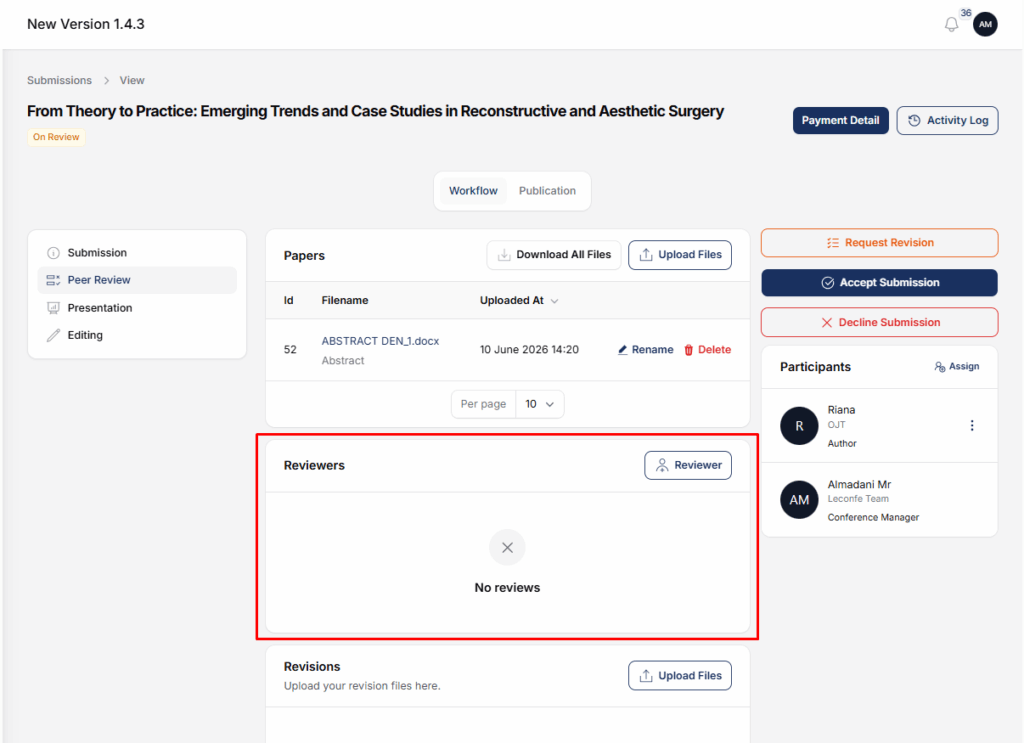
If the paper is in peer review, open the Peer Review area and use the Reviewers section to assign reviewers.
- Open the submission.
- Go to the Peer Review area.
- Open the Reviewers section.
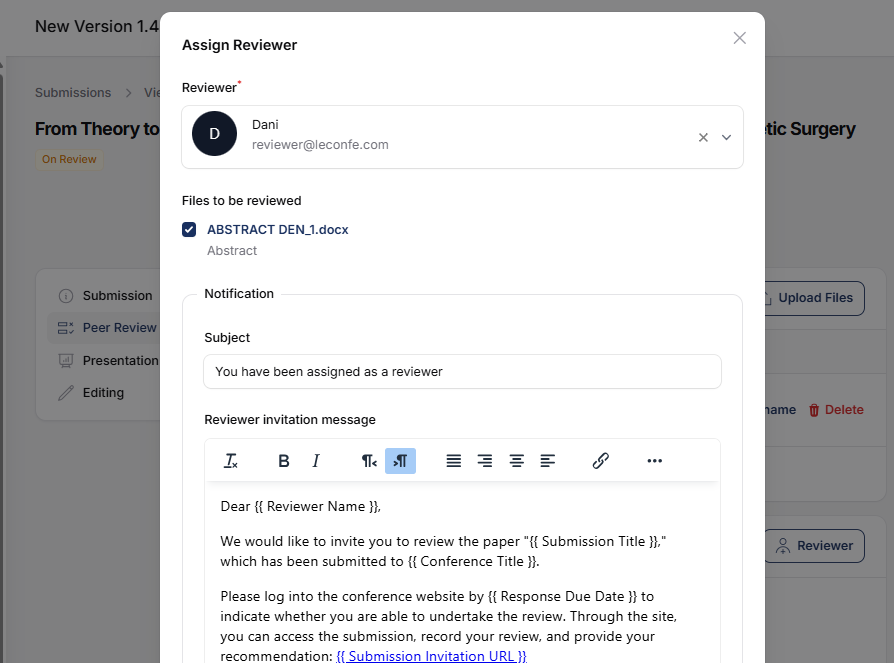
- Choose the reviewer assignment action.
- Select the reviewer.
- Select which paper files the reviewer can access.
- Set the response due date.
- Set the review due date.
- Select the review mode.
- Review the invitation email, or choose not to send a notification.
- Save the assignment.
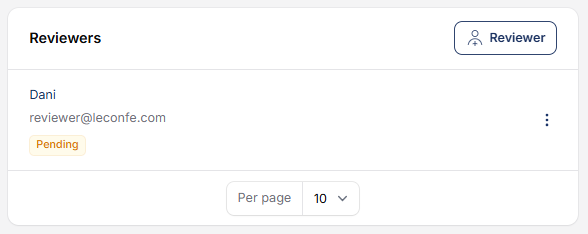
The reviewer will appear in the reviewers list with their current status. Common statuses include pending, accepted, declined, and canceled.
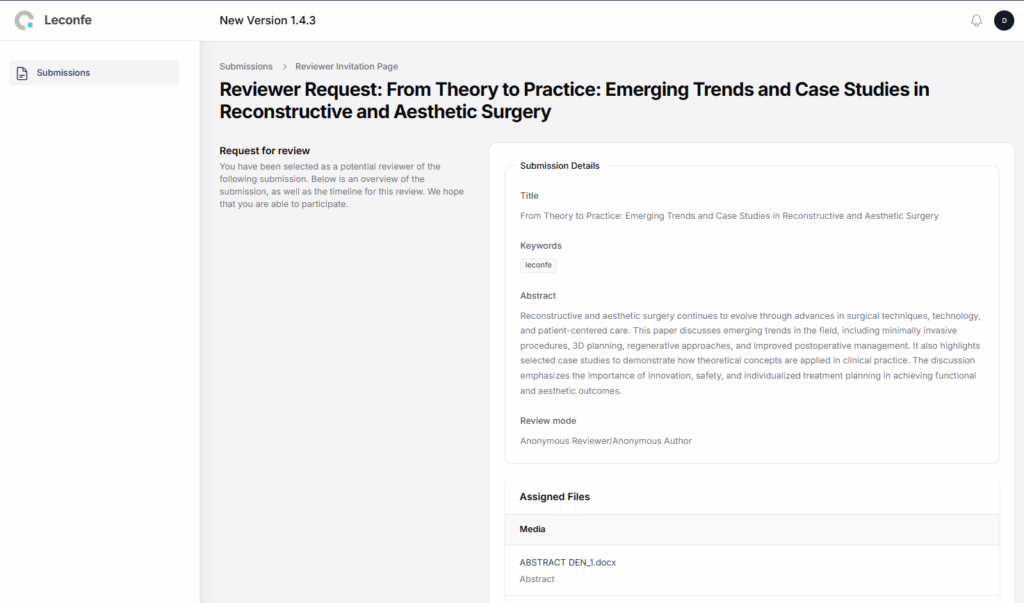
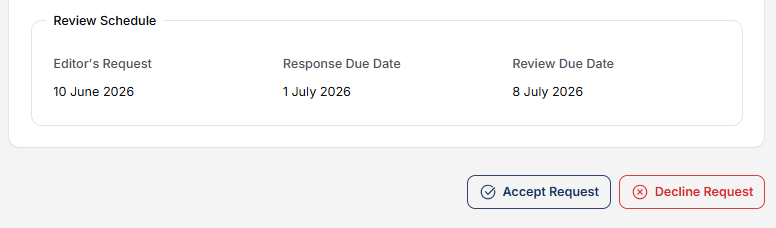
6. Reviewer Accepts or Declines the Request
When a reviewer opens the review request, Leconfe shows the submission details, assigned files, review schedule, and review mode. The reviewer can accept or decline the request.
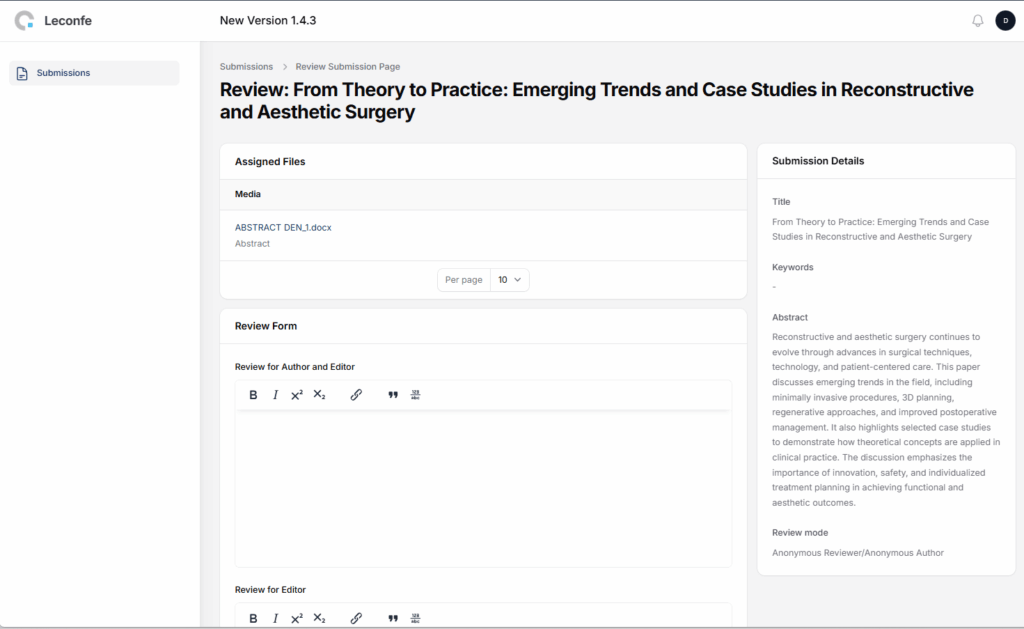
If the reviewer accepts, Leconfe opens the review page. If the reviewer declines, the editor can assign another reviewer.
7. Reviewer Completes the Review
On the review page, the reviewer can read the submission details and complete the review form.
- Review for Author and Editor: comments that can be shared with the author and editor.
- Review for Editor: comments only for the editor.
- Recommendation: the reviewer recommendation for the submission.
The reviewer can choose Save for Later if the review is not ready, or Submit Review when the review is complete.
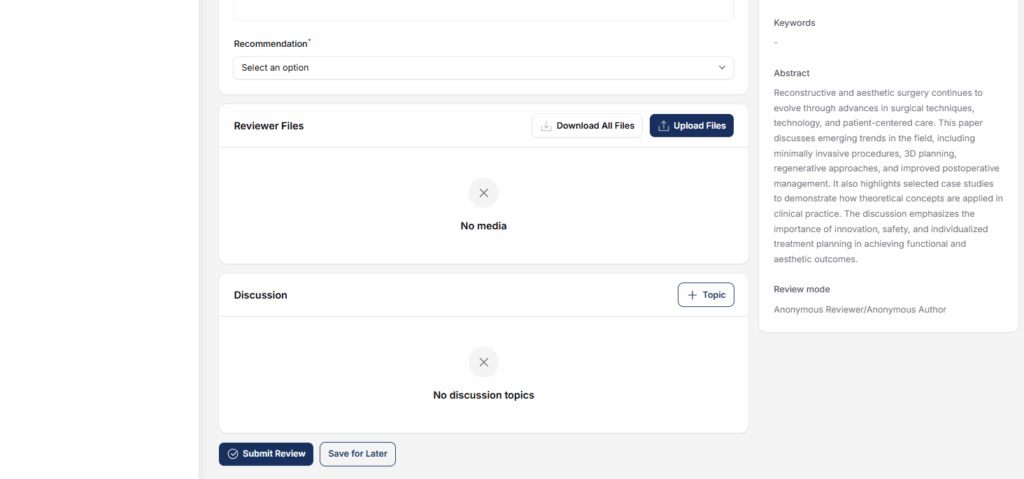
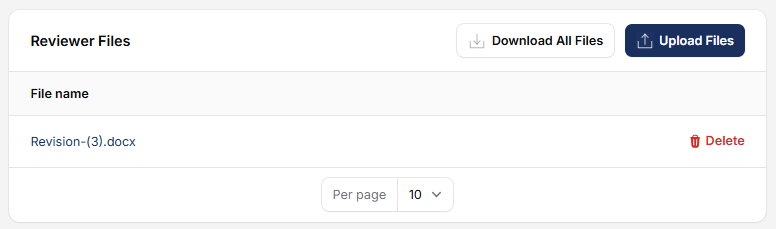
Reviewers can also use the “Reviewer Files” feature to attach files that need to be revised to the author.
8. Editor Reads the Review Result
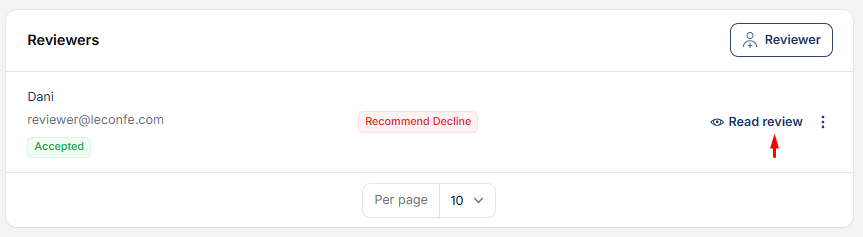
After the reviewer submits the review, the editor can open the reviewer record and read the review. Leconfe shows the completed date, recommendation, reviewer comments, and any reviewer files.
The editor can confirm that the review has been read. If needed, the editor can also adjust the reviewer recommendation and rate the quality of the review. The review quality rating is for internal use and is not shared with the reviewer.
9. Editor Sends a Decision to the Author
When the editor has enough information, the editor can make a decision from the peer review area.
- Accept Submission: moves the paper to Presentation and sends an acceptance notification to the author.
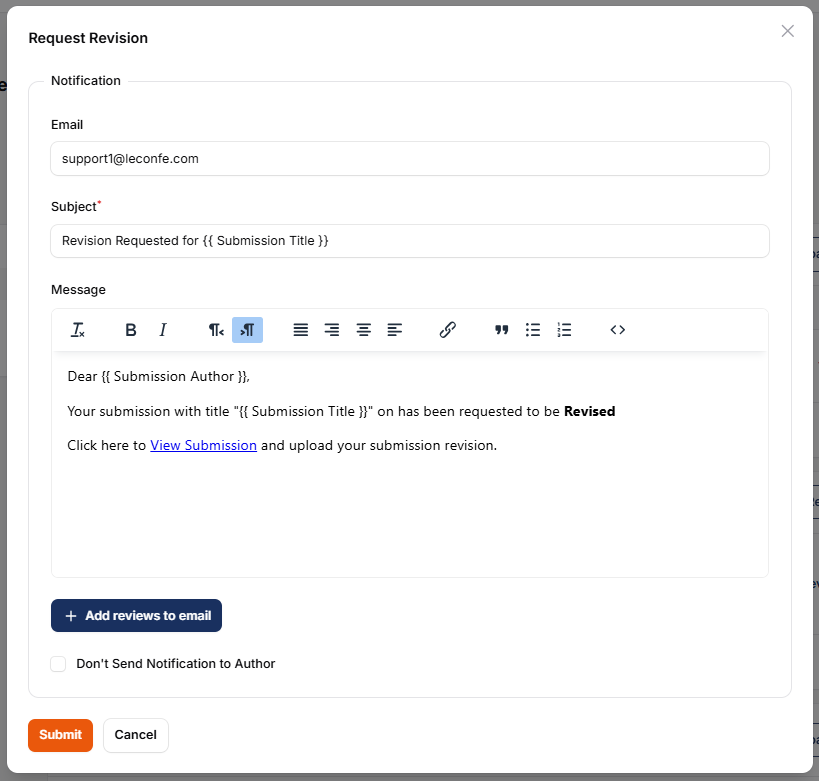
- Request Revision: keeps the paper in Peer Review and asks the author to revise the submission.
- Decline Submission: marks the submission as declined and sends a decline notification to the author.
The notification form lets the editor review the email subject and message. The editor can also choose not to notify the author.
10. Use Discussions When Communication Is Needed
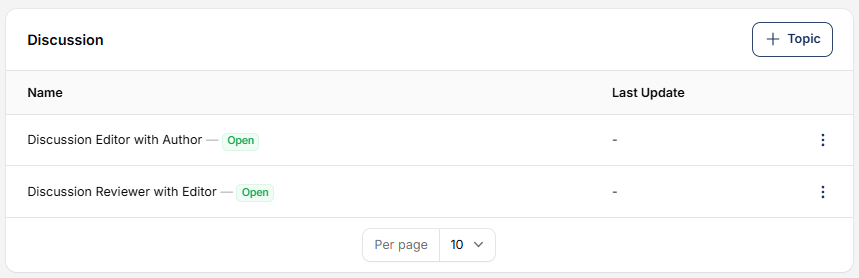
Use discussions when the editor needs to communicate about the submission without losing the conversation history. Discussions can be used between editor and author, or between editor and reviewer.
- Open the submission.
- Go to the discussion area for the current stage.
- Create a new discussion topic.
- Add the participants who should join the discussion.
- Write the message.
- Save the topic.
For peer review discussions, be careful when adding reviewers. Review mode affects what information can be shown to authors and reviewers.
Use this feature if you need feedback or a re-evaluation from the reviewer regarding the revisions made by the author.
11. Move the Paper to Presentation
A paper reaches Presentation in one of two ways:
- The editor accepts the paper after peer review.
- The editor skips review and sends the paper directly to presentation.
When the paper is in Presentation, the status is On Presentation. Use this stage to manage presentation-related work before the paper moves to editing.
Full details regarding presentation features can be seen here
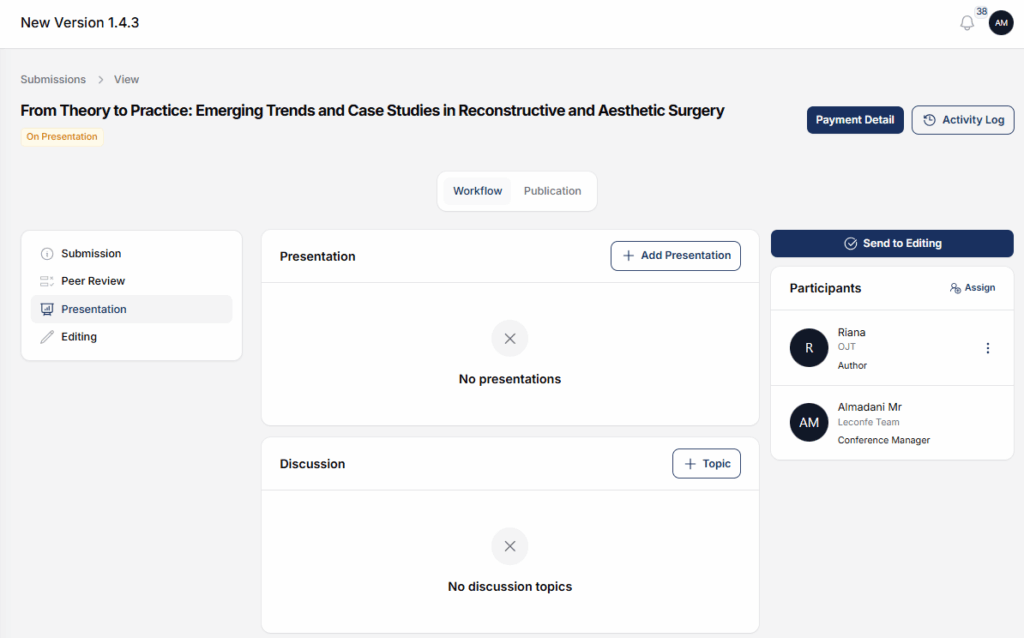
12. Move the Paper to Editing
When the presentation stage is complete, choose Send to Editing. Leconfe moves the submission to the Editing stage and changes the status to Editing.

Use the editing stage for the final preparation work before publication or proceeding-related steps.


