The Website Builder lets you create and customize your conference website easily — no coding or technical skills needed. You can build a professional-looking website by choosing a ready-made template and editing content with an intuitive visual editor.
With the Website Builder, you can manage key website elements such as homepage layout, event information, speaker profiles, schedules, registration sections, and announcements. This lets you present your conference in a structured, attractive, and user-friendly way.
The Website Builder is available from Leconfe version 1.4 and above. If you are using an earlier version, you will need to upgrade your system to access this feature.
How to Install and Activate the Website Builder Plugin
Log in to your dashboard and go to the Plugins menu.
Click on the Plugin Gallery tab. In the Plugin Gallery, search for “Website Builder”.

Click Install to begin the installation process.
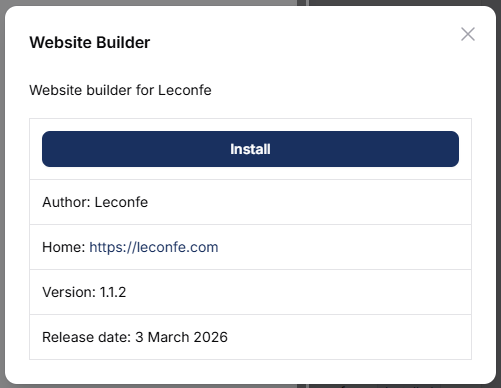
After installation is complete, go to the Installed Plugins tab.
Find the Website Builder plugin. Click Activate to enable it.

Refresh your Leconfe dashboard page. After refreshing, the Website Builder feature will appear in the left sidebar menu.
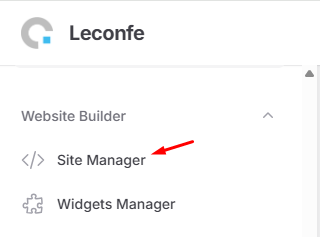
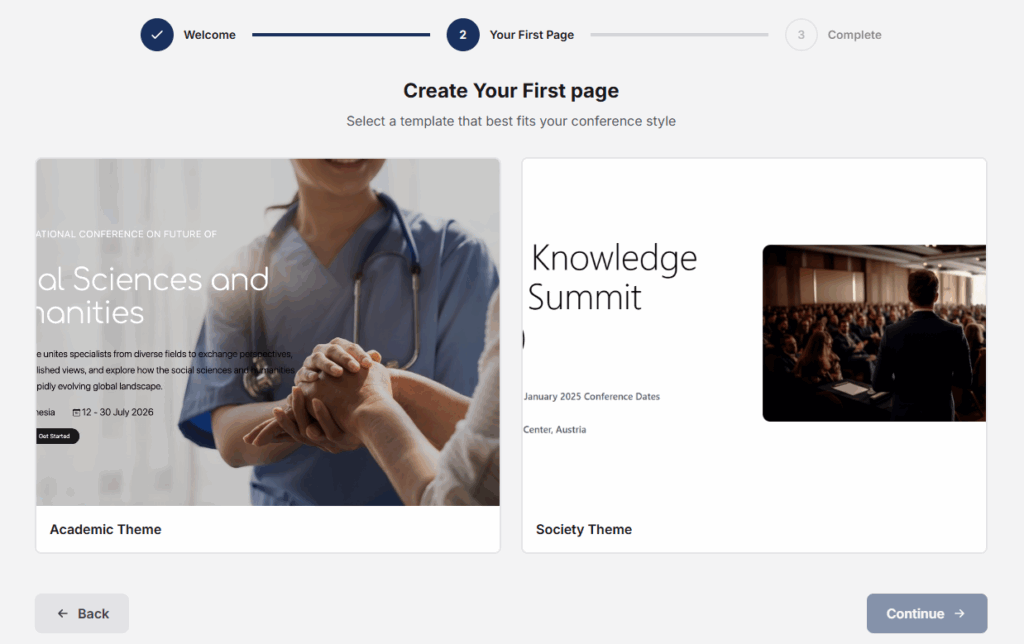
Open the Website Builder menu. Complete the initial setup process.
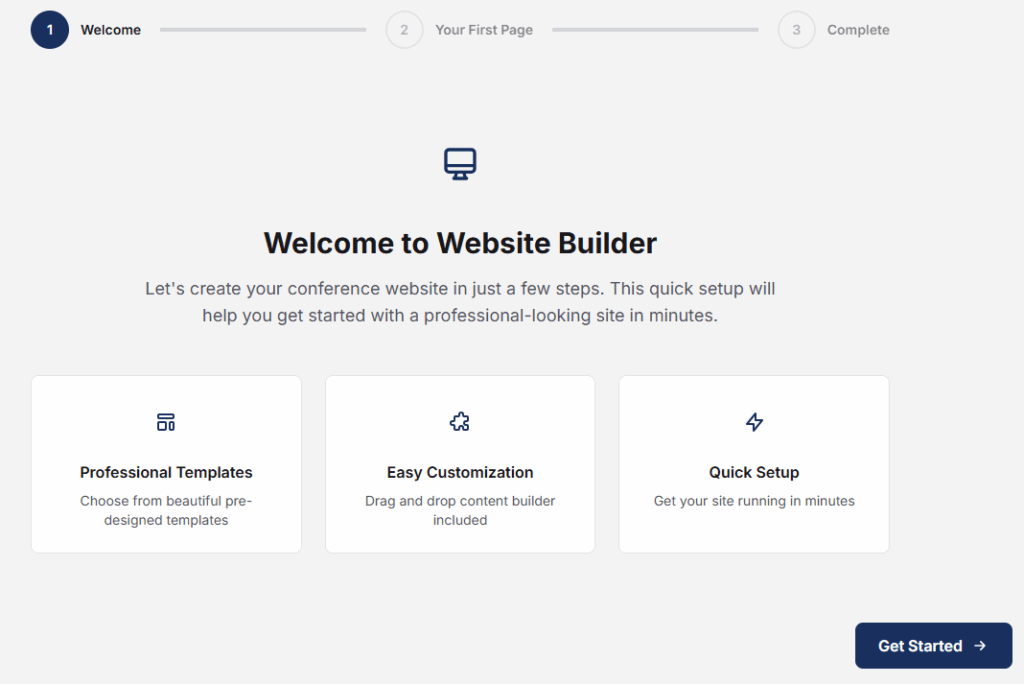
Choose one of the available starter templates.
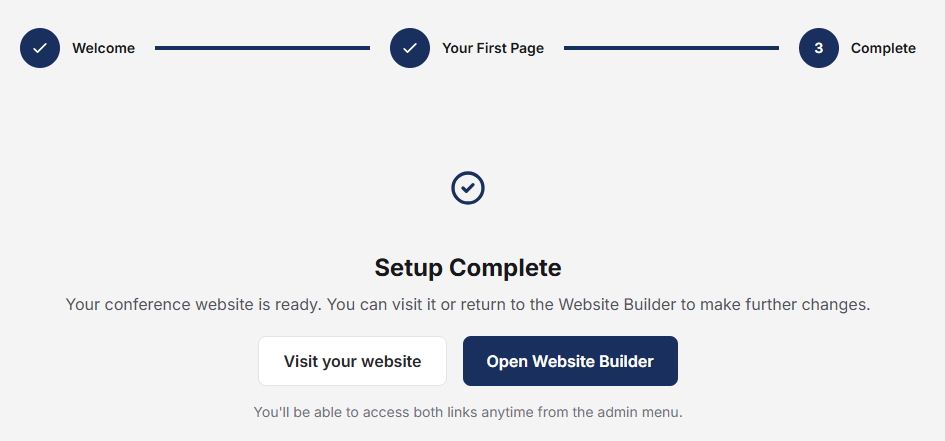
Click “Visit Your Website” to preview your theme. Click “Open Website Builder” to edit and customize your website content.
Editing Your Website
Once you open the Website Builder, you will see a visual editor that lets you edit your website by clicking directly on the page. Here is what you can do:
Click to Edit Text
Click on any text on your page to start editing it. You can change headings, descriptions, dates, and any other content directly on the page — no need to go through complicated menus.
Replace Images
Click on any image to replace it with your own. You can upload your conference logo, photos, sponsor banners, and speaker headshots.
Add New Sections
You can add new sections to your website such as headers, text blocks, image galleries, sponsor logos, and schedules. Each section helps you build a complete conference website step by step.
Switch Between Desktop and Mobile Preview
Switch between desktop and mobile preview modes to see how your website looks on different devices. This helps you make sure your website looks great for all visitors.
Automatic Saving
All changes you make are saved automatically. Once saved, the changes appear immediately on your live website — no need to press a publish button.
Troubleshooting
If the Website Builder does not appear in your sidebar after activation, try refreshing your browser page or clearing your browser cache. This usually fixes the issue right away.
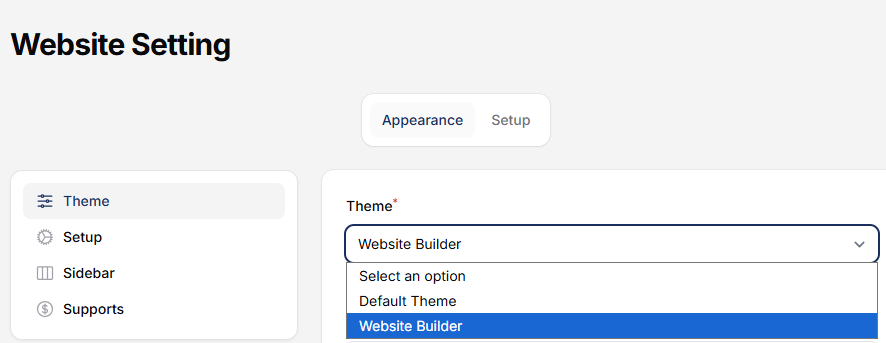
How to Switch Between Website Builder Theme and Default Theme
To deactivate the Website Builder theme and switch your conference website back to the default theme, go to the Settings menu. In the Theme section, change the selected theme to Default Theme.